Recording a live performance isn’t just about pointing a camera at the stage. If you’ve ever tried to capture a band’s energy at a small venue and ended up with shaky footage, muddy audio, or a video that feels flat-you know how hard it is to turn a great moment into something worth watching. The difference between a decent clip and a professional-quality video comes down to preparation, gear, and knowing what to prioritize when the lights go up.
Start with the Right Gear
You don’t need a $5,000 rig to get great results, but you do need the right balance of tools. Most successful live videos come from three key components: a stable camera, decent audio, and backup power.
For cameras, mirrorless models like the Sony ZV-E10 or Canon EOS R50 are popular because they’re lightweight, have good low-light performance, and let you swap lenses. A 24mm or 35mm lens gives you a wide enough view of the stage without distorting the performers. Avoid zooming in too much-getting close physically is better than digital zoom. If you’re shooting on a phone, use a model with a wide-angle mode and lock your exposure and focus before the show starts.
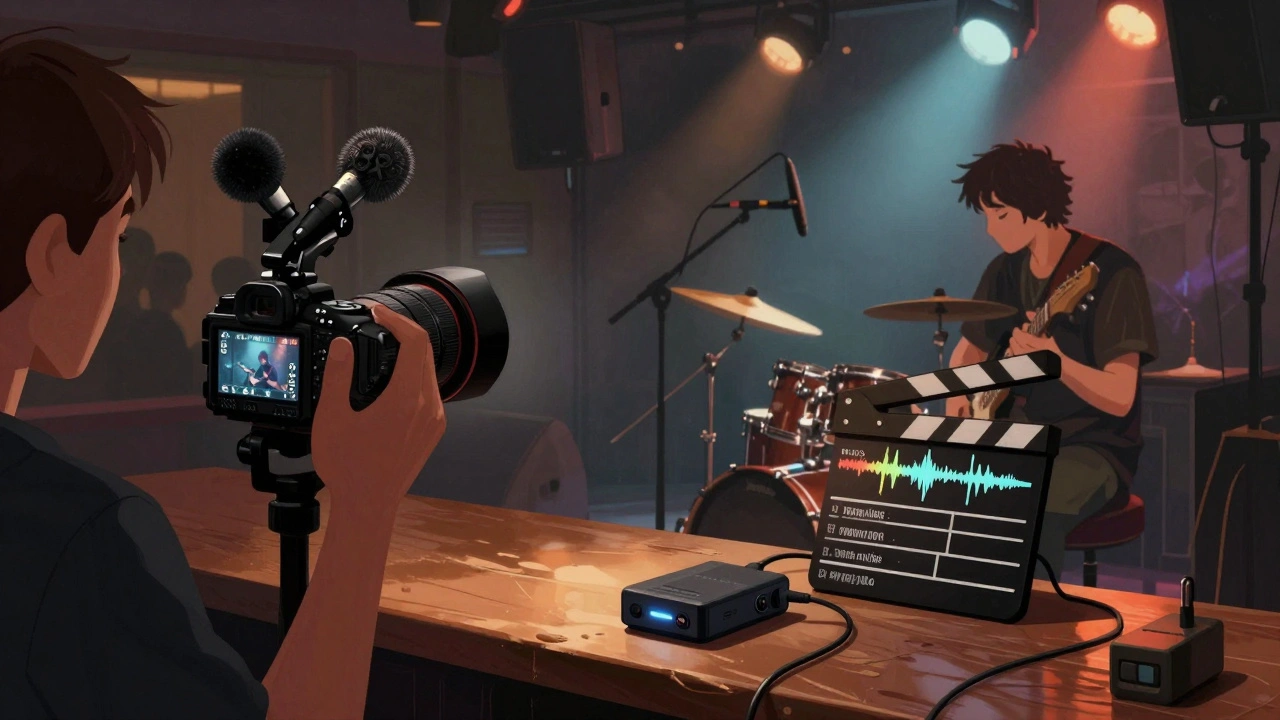
Audio is where most videos fail. Built-in mic on your camera? It’ll pick up crowd noise, echo, and stage rumble. Use a separate audio recorder like the Zoom H4n Pro or Tascam DR-40X. Plug in a pair of XLR mics-one on a stand pointing at the lead singer, another near the amps or drum kit. If you can’t get mics on stage, record ambient audio from the soundboard feed using a 3.5mm cable from the venue’s line out. Always test this connection before the show.
Bring extra batteries and a portable power bank. Live shows last hours, and cameras drain juice fast. Cold venues? Batteries die quicker. Pack at least two fully charged sets for each device.
Find the Best Spot
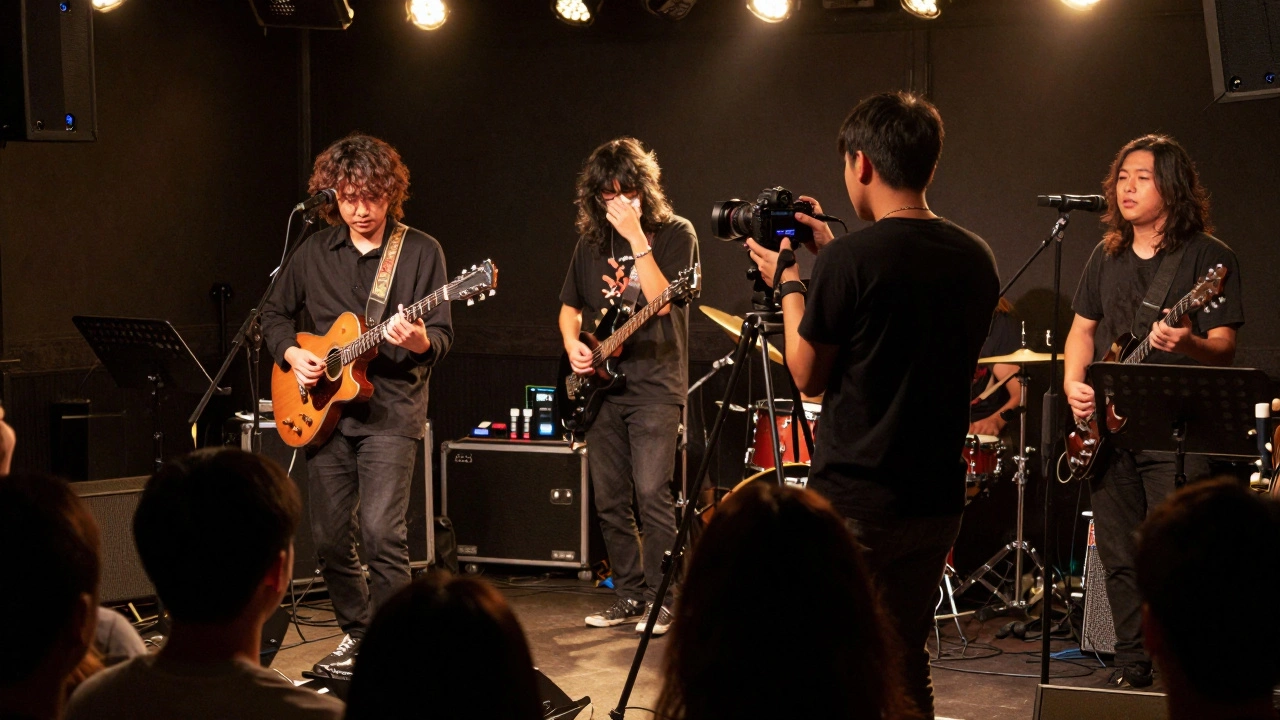
Where you stand changes everything. Front row might seem ideal, but you’ll get a distorted view, loud bass thumps, and people blocking your shot. The sweet spot? About 10-15 feet back, slightly off-center. This gives you a clear view of the whole stage, avoids crowd obstructions, and lets you capture the band’s movement.
Check the venue layout ahead of time. If it’s a small club, ask if you can arrive early to scout. Larger venues often have designated media areas. Even if you’re not press, some places let you shoot from the side aisles or near the sound booth. Always ask politely-many venues will say yes if you’re respectful and not using flash.
Avoid shooting directly into stage lights. They’ll blow out your exposure and make faces look like shadows. Angle your shot so the band is lit by their own stage lamps, not the house lights. If the lighting is dim, bump your ISO to 1600-3200 and use a fast lens (f/1.8 or lower). You’ll get grain, but it’ll look more authentic than a dark, blurry mess.
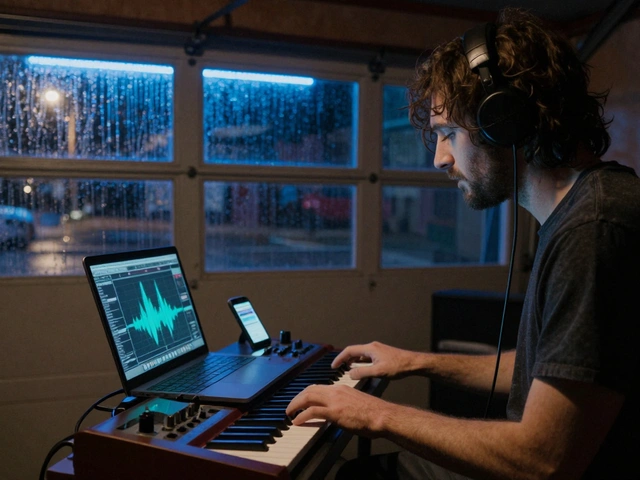
Record Audio Separately
This is non-negotiable. Even if your camera has great video, its audio will sound like it was recorded in a bathroom. Record audio on its own device and sync it later. Here’s how:
- Use a clapperboard or clap your hands loudly at the start of each song. This gives you a visual and audio spike to match in editing.
- Label your audio files clearly: “BandName_Song1_Mic1_20260308”
- Record in 24-bit/48kHz WAV format. Don’t use MP3-it loses too much detail.
- If the venue has a soundboard feed, record from that. It’s cleaner than mics in the crowd.
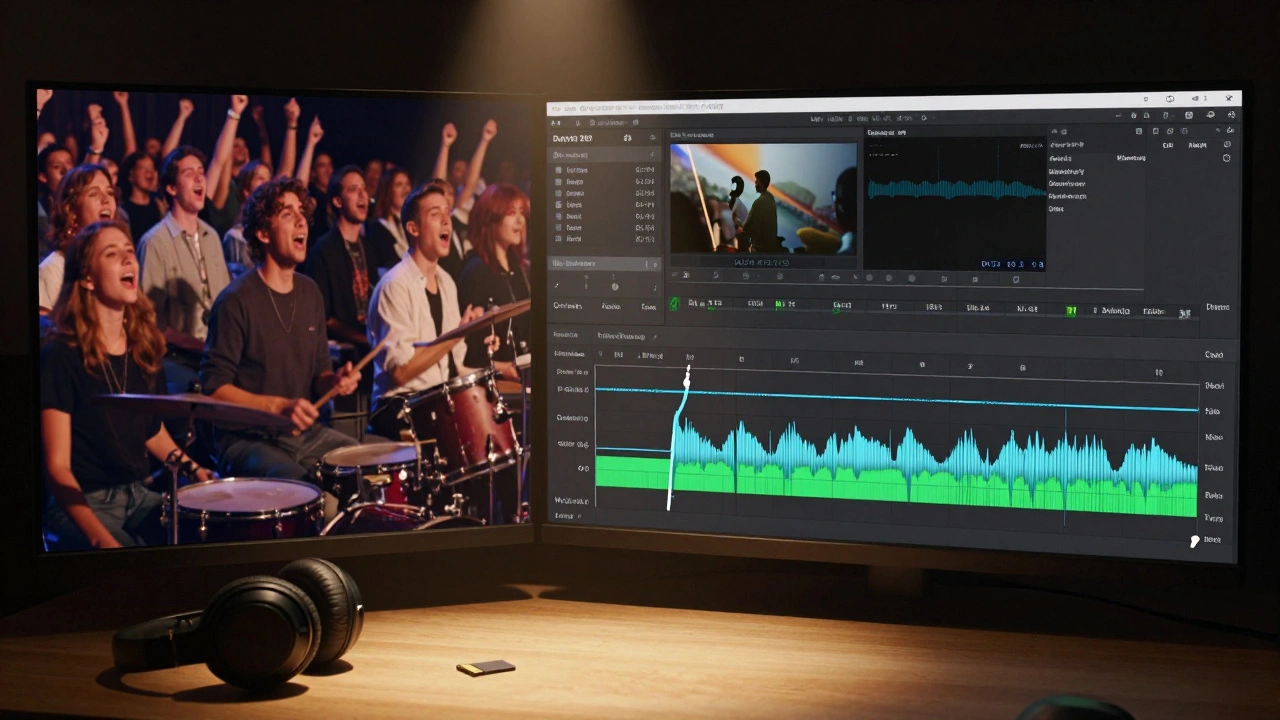
Most editing software-DaVinci Resolve, Premiere Pro, even CapCut-can auto-sync audio and video using the clap. No manual dragging needed. Just find the spike, snap it to the video, and you’re done.
Shoot More Than You Think You Need
Live shows are unpredictable. A guitarist drops a pick. The lead singer forgets a lyric. Someone in the crowd yells something hilarious. These moments make your video memorable. Don’t just keep the camera on the main performer.
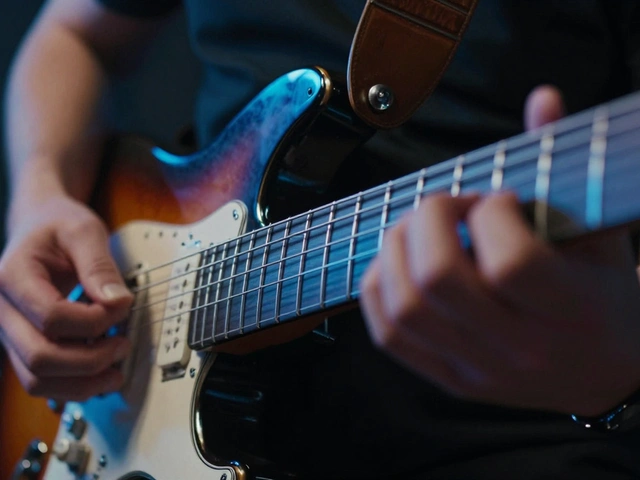
Switch angles every 30-60 seconds. Capture:
- Close-ups of hands on frets or drumsticks
- Reactions from the crowd-smiling faces, people singing along
- Wide shots to show the energy of the space
- Back-of-stage moments if you can sneak a peek
Shoot 3-4 minutes of footage for every 3-minute song. You’ll thank yourself later when you’re editing and realize you didn’t get the perfect solo shot. Better to have too much than too little.
Edit for Emotion, Not Perfection
People don’t watch live videos to hear flawless sound. They watch because they want to feel like they were there. That means:
- Keep the raw energy. Don’t over-compress the audio or remove every cough or cheer.
- Use jump cuts to tighten the video, but don’t cut out the crowd’s reaction to a big moment. That’s the soul of the clip.
- Color grade lightly. Boost contrast slightly, warm up the shadows, and mute the blues. You’re not making a music video-you’re preserving a memory.
- Add the song title, band name, and date as a lower third. Viewers will want to know what they’re watching.
Don’t spend hours tweaking every frame. A 5-minute edit that feels real beats a 20-minute polished mess. Upload it, share it, and move on.
Respect the Rules
Not every venue allows recording. Some bands outright ban phones. Others only allow small cameras. Always check the venue’s policy before you go. If you’re unsure, ask the staff or the band’s manager. Violating these rules can get you kicked out-or worse, banned from future shows.
If you’re recording for personal use, that’s fine. If you plan to post it online, especially if you’re monetizing it, get permission. Many indie bands are happy to have their shows shared. Some even ask for copies. Offer to send them a link. It builds goodwill and might get you better access next time.
What Not to Do
- Don’t use flash. It distracts performers and ruins the mood.
- Don’t record from the back of the room unless you’re doing a documentary. The audio will be unusable.
- Don’t rely on auto-focus. It hunts in low light and misses critical moments.
- Don’t shoot in 4K unless you have a fast memory card and enough storage. You’ll fill up your phone in 15 minutes.
One last tip: if you’re recording with a group, assign roles. One person handles video, another audio, a third watches the crowd for reactions. Teamwork makes the footage richer.
Final Thought
Live music is about feeling, not perfection. Your video doesn’t need to look like a Netflix concert special. It just needs to make someone who wasn’t there say, “I wish I’d been there.” That’s the goal. Keep it real. Keep it simple. And don’t forget to enjoy the show while you’re recording it.