
There is a specific sound that only happens when a slide guitar plays in a real room. It’s not just the metal or glass sliding across the strings; it’s the way the air moves around the instrument. In a dead studio, a slide guitar can sound thin and sterile. But in a space with the right room acoustics, the instrument breathes. The reflections become part of the note, adding weight and character that no plugin can fully replicate. For blues musicians, this natural resonance isn't just an aesthetic choice-it's essential to the genre's soul.
Understanding how sound behaves in a live environment is critical for capturing that authentic feel. When you record slide guitar, you aren't just capturing direct sound from the microphone. You are also capturing the early reflections from walls, floors, and ceilings. These reflections arrive at the microphone milliseconds after the direct sound. If they are too close, they cause comb filtering-a phase cancellation that makes the tone hollow. If they are too far, they create a wash that buries the detail. The goal is to find the sweet spot where the room adds body without muddying the pitch.
The Physics of Slide Guitar Resonance
Slide guitar produces sound differently than standard fretted guitar. Because the slide covers multiple strings simultaneously, the attack is often softer and more sustained. This means the transient-the initial sharp hit of the string-is less pronounced. Instead, the energy spreads out over time. This characteristic makes the instrument highly sensitive to its surroundings. A small change in distance to a wall can drastically alter the perceived timbre.
Consider the frequency response. Low frequencies from a bass-heavy slide part tend to travel further and reflect off large surfaces like concrete floors. High frequencies, generated by the brighter upper strings, are more directional and absorb quickly if there are soft materials nearby. To balance this, you need to manage the interaction between these two elements. If your room has hard parallel walls, low-end buildup will occur, making the mix sound boomy. Conversely, if you treat the high ends too aggressively, the slide loses its shimmering top end, which is crucial for cutting through a band mix.
Choosing the Right Space
Not every room is created equal for recording slide guitar. You want a space that offers a controlled amount of reverberation. A completely dry room, like a treated vocal booth, might make the slide sound intimate but lacking in presence. A large, untreated cathedral-like hall will drown the nuance in echo. The ideal space falls somewhere in between: a medium-sized room with mixed surface materials.
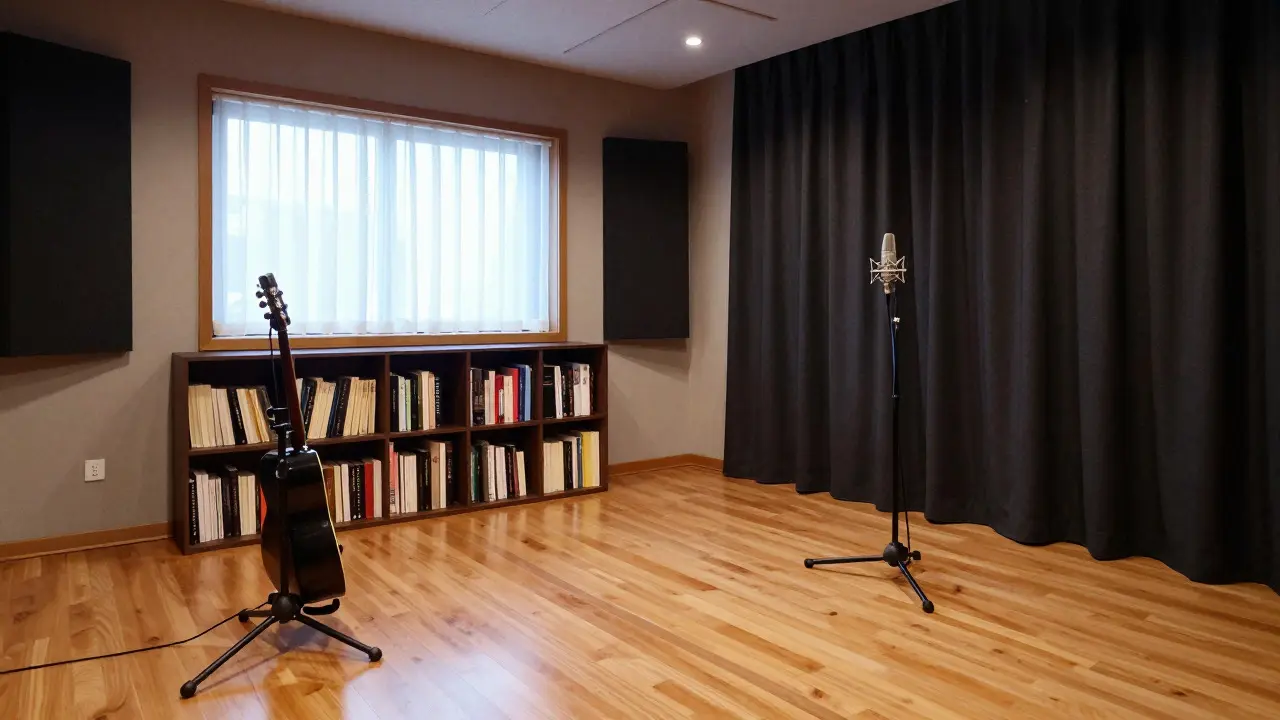
- Wooden Floors: Provide a warm, mid-range reflection that complements the fundamental frequencies of the guitar. They add a natural "slap" back into the mic that enhances the sense of space.
- Fabric Curtains: Placed on one side of the room, they absorb high-frequency flutter echoes without killing the entire tonal palette. This creates a darker, smoother decay tail.
- Open Doorways: Using an adjacent room as an extension can lower the effective reverb time. Sound leaks out, reducing the buildup of energy inside the main tracking room.
Avoid rooms with bare concrete walls if possible. Concrete reflects almost all frequencies equally, leading to a harsh, metallic ringing that clashes with the organic nature of the blues. If you must use such a space, hang heavy moving blankets or install acoustic panels on the first reflection points-specifically, the spots where sound bounces directly from the source to the microphone.
Microphone Placement Strategies
Your microphone placement dictates how much room sound you capture relative to the direct signal. For slide guitar, a combination approach often works best. Start with a dynamic microphone, like an SM57 or SM58, placed close to the guitar's sound hole or bridge area. This captures the direct, punchy attack. Then, place a condenser microphone, such as an NT1 or U87, six to ten feet away. This second mic picks up the room's character.
By blending these two signals, you have control. You can dial in the direct sound for clarity and the room sound for atmosphere. Experiment with the angle of the room mic. Pointing it at the ceiling can capture a brighter, more diffuse reflection. Pointing it at a carpeted floor yields a warmer, darker ambience. Listen critically to the blend. If the room mic sounds too late, move it closer to the player. If it sounds too dry, increase the distance or reduce the treatment in the room.
| Mic Type | Placement Distance | Captured Characteristic | Ideal Use Case |
|---|---|---|---|
| Dynamic (e.g., SM57) | 6-12 inches | Direct, focused, less room color | Solo slides needing clarity in dense mixes |
| Condenser (e.g., U87) | 6-10 feet | Room tone, spatial depth, natural decay | Blues ballads requiring atmospheric warmth |
| Ribbon (e.g., R-121) | 3-5 feet | Smooth highs, gentle proximity effect | Vintage-style recordings with soft edges |
Treating Reflections Without Killing the Vibe
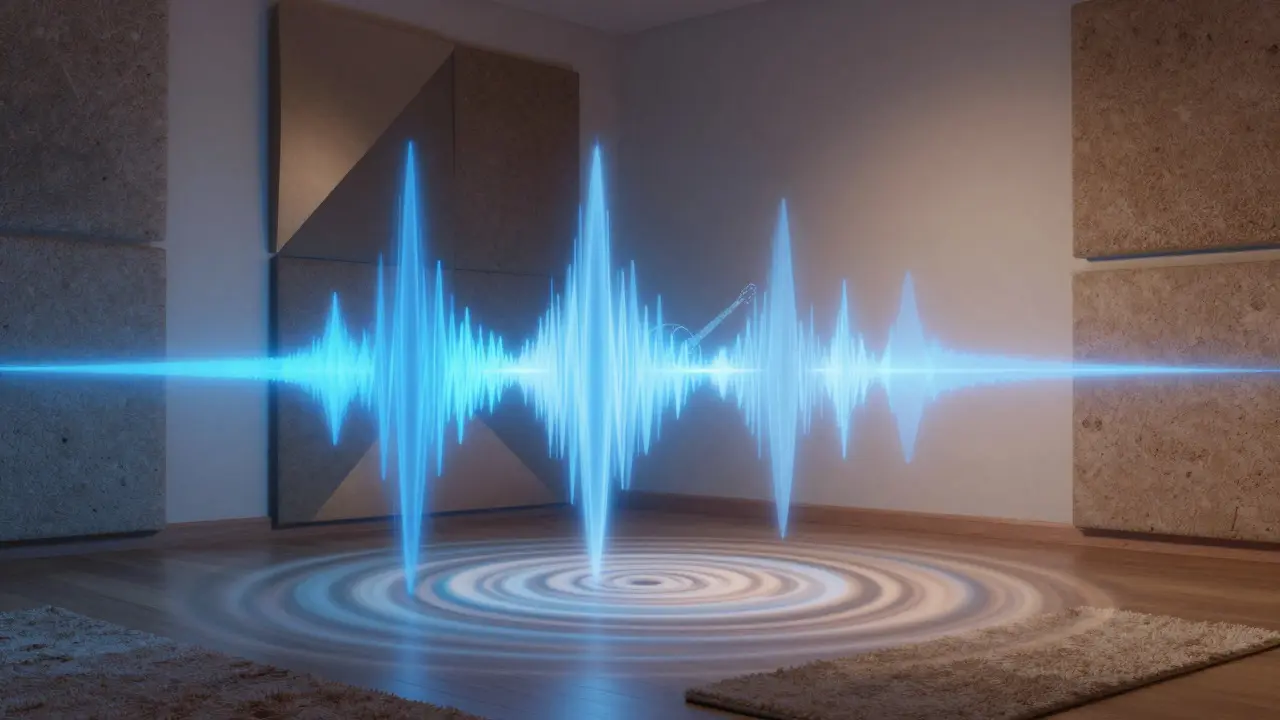
One common mistake is over-treating the room. Musicians often fear noise and slap their hands against the walls, thinking they need to eliminate every echo. But for slide guitar, some reflection is desirable. You want to control the *quality* of the reflection, not necessarily eliminate it entirely. Focus on the first 100 milliseconds of the impulse response. This is where the problematic comb filtering occurs. Place absorptive panels at the first reflection points on the side walls. Leave the rear wall relatively untreated or use diffusers instead of absorbers. Diffusers scatter the sound energy, breaking up standing waves while maintaining a sense of liveliness.
If you notice a specific frequency ringing out-often in the 200Hz to 500Hz range-check for corner resonances. Corners are pressure maxima for low frequencies. Adding thick bass traps in the corners can tighten up the low end, allowing the slide's fundamental notes to ring cleanly without muddying the midrange. This simple adjustment can transform a muddy recording into a crisp, professional-sounding track.
Practical Tips for Home Studios
You don’t need a million-dollar studio to achieve great results. Many legendary blues records were made in small spaces with clever arrangements. If you are recording in a home studio, start by mapping your room. Walk around and clap your hands. Listen for hot spots where the sound gets louder and cold spots where it dies out. Mark these areas. Your first reflection points are usually halfway between the player and the opposite wall. Treat these first.
Use furniture strategically. A bookshelf filled with books acts as a broadband absorber and diffuser. Position it behind the microphone or near the player to break up reflections. A rug under the player's feet reduces floor slap, which can be particularly harsh on the low-mid frequencies of a slide guitar. Remember, the goal is balance. You want the room to support the instrument, not fight it. If the recording feels lifeless, remove some treatment. If it feels chaotic, add more absorption. Trust your ears over the meters.
Common Pitfalls to Avoid
Be wary of parallel surfaces. If your player stands directly in front of a window or a flat wall, you will get strong, discrete reflections. Move the player slightly off-center, or angle the microphone to avoid pointing directly at a reflective surface. Also, watch out for HVAC systems. Air conditioners and fans introduce broadband noise that can mask the subtle details of a slide performance. Turn them off during tracking if possible, or schedule sessions during cooler months when you can keep windows open for ventilation without relying on mechanical cooling.
Another pitfall is ignoring the performer's position. Slide players often move around while playing. If they step closer to a wall, the room sound changes instantly. Communicate with the musician. Establish a consistent playing position, or use multiple microphones to average out the variations. Consistency is key to a cohesive final mix. Even small movements can shift the phase relationship between the direct and reflected sound, causing the tone to waver unpredictably.
Frequently Asked Questions
How far should the room microphone be from the slide guitar?
Start with the room microphone 6 to 10 feet away from the player. This distance allows the direct sound to reach the primary microphone before the room reflections arrive, giving you a clean separation between the direct signal and the ambient sound. Adjust based on the size of your room; smaller rooms may require shorter distances to avoid excessive decay.
Do I need to treat the ceiling for slide guitar recordings?
Usually, no. The ceiling is often far enough away that its reflections arrive late and contribute to the overall reverb tail rather than causing immediate comb filtering. However, if you have a very low ceiling or a hard, reflective surface directly above the player, consider hanging a blanket or installing a panel to soften the high-frequency bounce.
What is the best material for controlling slide guitar reflections?
Broadband absorbers made from rockwool or fiberglass are excellent for controlling mid and high frequencies. For low-end issues, use thick bass traps in the corners. Fabric curtains work well for high-frequency diffusion and absorption. Avoid using thin foam pads, as they primarily affect high frequencies and do little to solve the low-mid buildup common in small rooms.
Can I use a DI box for slide guitar in a live room?
Yes, but use it as a backup or reference track. A DI capture provides a dry, uncolored signal that you can process later. However, for the authentic blues sound, the microphone-captured room tone is usually preferred. Blending a DI signal with a room mic can help fix timing issues or add extra punch without losing the spatial character.
How does humidity affect room acoustics for slide guitar?
High humidity increases the speed of sound slightly and can dampen high frequencies due to moisture in the air. This can make the room sound darker and less bright. Low humidity dries out wooden instruments and can make the air transmit high frequencies more efficiently, potentially increasing brightness. While the effect is subtle, extreme conditions can impact both the instrument's tuning stability and the room's tonal balance.