There is a specific kind of exhaustion that hits you when you finish a long hike. Your legs are heavy, your lungs are burning, and the sun is dipping below the horizon. But if you have just finished a Robert Hill run-a term often used by local trail runners and photographers to describe the grueling but rewarding ascent up this iconic peak near Portland, Oregon-you aren't just tired. You are ready to capture the moment. The "tour" here isn't a bus ride; it's the personal journey of conquering the trail, and the "finale" is how you document and celebrate that victory.
Closing a run in style isn't about posing for a selfie with perfect hair (though we won't judge if you do). It’s about capturing the essence of the effort, the landscape, and the release of tension. Whether you are an amateur runner logging miles or a photographer chasing the golden hour light on the ridge, the way you end your session defines the memory. Here is how to master the art of the tour finale, turning a sweaty climb into a lasting highlight reel.
The Anatomy of a Perfect Tour Finale
To understand how to close a run in style, you first need to define what the "finale" actually looks like. In the context of outdoor activities and travel photography, the finale is the transition from action to reflection. It is the last ten minutes of your activity where the adrenaline fades and the appreciation sets in.
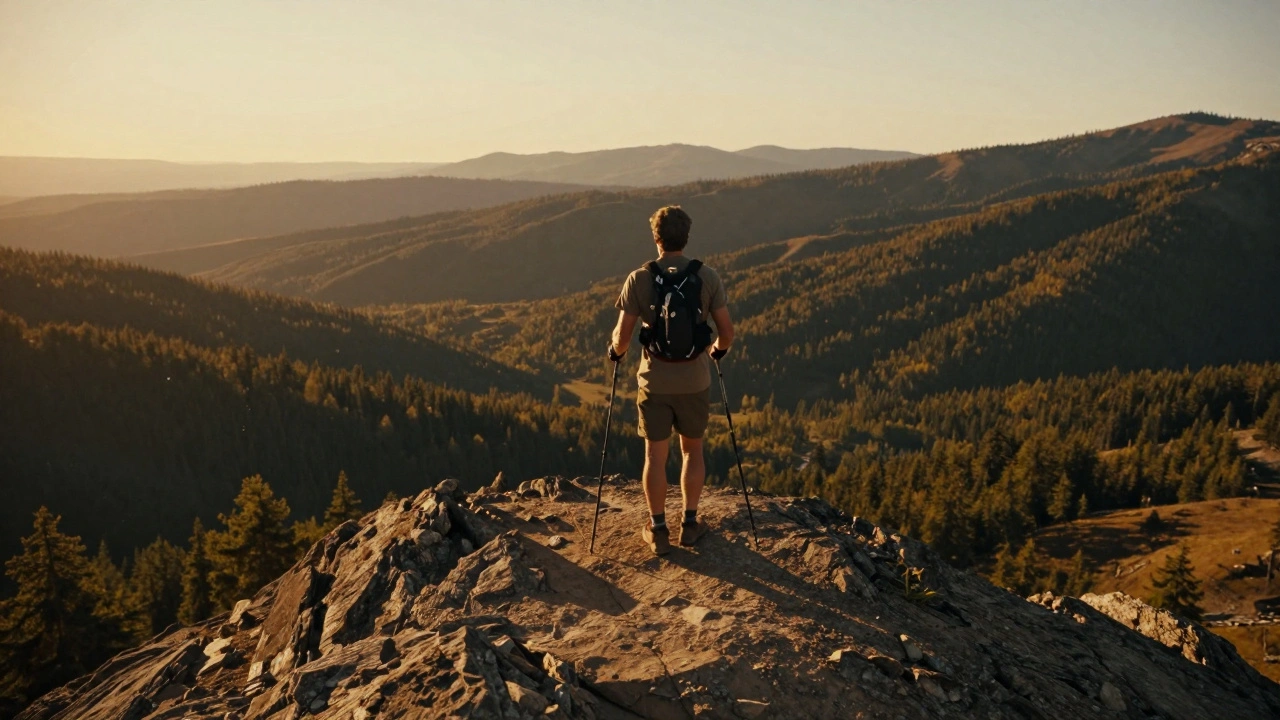
For a Robert Hill run, this usually happens at the summit or on the descent path where the view opens up. The key elements of a successful finale include:
- Visual Composition: Framing yourself or your group against the backdrop of the city skyline or the forest canopy.
- Emotional Authenticity: Capturing genuine reactions-laughing, gasping for air, or silent awe-rather than stiff poses.
- Technical Execution: Ensuring your camera or phone settings are adjusted for low-light conditions as the day ends.
Many people rush through this phase. They check their GPS watch, log the distance, and head straight to the car. This is a missed opportunity. The finale is where the story lives. By slowing down for just five minutes, you transform a workout into a narrative.
Capturing the Light: Photography Tips for the Summit
If you want your tour finale highlights to stand out, lighting is your best friend. Robert Hill offers panoramic views of the Willamette Valley and the Portland metro area. As the sun sets, the light changes rapidly. Understanding these shifts can elevate your photos from snapshots to art.
During the "golden hour"-the period shortly before sunset-the light is soft, warm, and directional. This is ideal for portrait shots. Position yourself so the sun is behind the camera, illuminating your face. Avoid having the sun directly in front of you unless you are going for a silhouette effect, which can be dramatic but risky if you lose detail in the shadows.
As twilight approaches, the "blue hour" begins. The sky turns a deep indigo, and city lights start to twinkle below. This is the perfect time for long-exposure photography. If you have a tripod, set your shutter speed to 10-30 seconds. If you only have a smartphone, use the night mode feature, but hold your device steady. The contrast between the darkening sky and the emerging urban grid creates a powerful visual metaphor for the journey from nature back to civilization.
| Time Phase | Light Quality | Best For | Camera Settings Tip |
|---|---|---|---|
| Golden Hour | Warm, Soft, Directional | Portraits, Landscape Details | Lower ISO, Aperture f/8-f/11 |
| Sunset | High Contrast, Dramatic | Silhouettes, Sky Gradients | Exposure Compensation -1 EV |
| Blue Hour | Cool, Even, Low Light | City Lights, Long Exposures | Tripod, Shutter Speed 10s+ |
Styling the Moment: What to Wear and Bring
Closing a run in style also involves preparation. You don't want to look disheveled if you plan to take photos. While sweat is part of the process, there is a difference between "athletic grit" and "unprepared mess." Here is how to manage your appearance during the finale:
- Layering is Key: Temperatures drop quickly on exposed ridges like Robert Hill. Wear a moisture-wicking base layer, but bring a lightweight windbreaker or fleece for the top. Removing a layer at the summit can create a dynamic movement in photos.
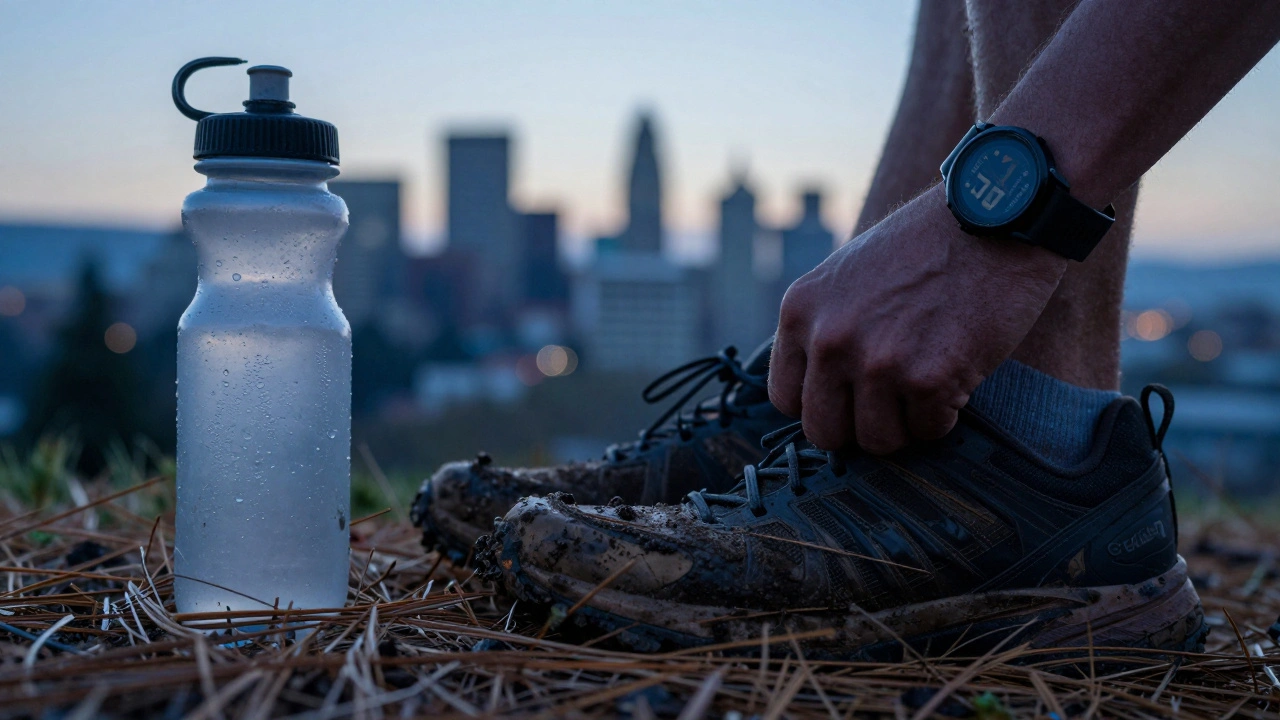
- Footwear Matters: Ensure your trail shoes are clean enough to look good in wide shots. Mud splatters add character, but caked-on dirt can look unkempt. Wipe them off with a cloth or grass before posing.
- Accessories as Props: Use your gear as props. A water bottle, trekking poles, or even your running watch can add context to the image. Holding a map or looking at a compass suggests exploration and adventure.
Avoid wearing overly bright neon colors if you want your photos to blend harmoniously with the natural environment. Earth tones-olive greens, browns, and slate grays-complement the forest and rock textures of the hill, making you part of the scene rather than an intruder.
The Narrative Arc: Structuring Your Story
When you share your tour finale highlights on social media or in a blog, the images alone aren't enough. You need a narrative arc. Think of your run as a three-act structure:
- Act 1: The Struggle. Show the steep incline, the breathless moments, and the dense forest. This builds empathy.
- Act 2: The Climb. Capture the progress, the changing views, and the physical exertion. This creates tension.
- Act 3: The Release. This is the finale. Show the summit, the open space, and the emotional payoff. This provides resolution.
By sequencing your photos in this order, you guide your audience through the experience. Don't just post the pretty sunset shot first. Start with the gritty details of the trail. Then, reveal the reward. This technique keeps viewers engaged and makes the final image feel earned.
Common Mistakes to Avoid
Even experienced travelers make errors during the finale phase. Here are the most common pitfalls and how to fix them:
- Rushing the Shot: People often snap one photo and leave. Take at least five angles. Wide shots for context, medium shots for emotion, and close-ups for details like worn-out shoe laces or condensation on a water bottle.
- Ignoring Safety: The edge of Robert Hill can be steep and slippery, especially in the damp Pacific Northwest climate. Never compromise safety for a photo. Keep one hand free for balance and stay on marked trails.
- Poor Battery Management: Cold temperatures drain batteries faster. Keep your phone or camera warm in an inner pocket until you are ready to shoot. Nothing ruins a finale like a dead battery.
Post-Run Rituals: Extending the Experience
The finale doesn't end when you put the camera away. It extends into the post-run ritual. This is where you solidify the memory. For many Portlanders, this means heading to a nearby cafe or brewery to debrief. Sharing the experience with others adds a social layer to the finale.
Consider writing down three things you noticed during the run immediately after finishing. Was it the sound of the wind? The smell of pine? The feeling of accomplishment? Journaling these sensory details helps you recall the emotion later, making your storytelling richer when you finally edit and publish your highlights.
Closing a Robert Hill run in style is about intentionality. It’s about recognizing that the end of the physical effort is the beginning of the creative expression. By paying attention to light, composition, narrative, and safety, you turn a simple hike into a memorable event. So next time you reach the summit, don't just check your stats. Stop, breathe, and capture the moment. That is how you truly finish strong.
What is the best time of day to visit Robert Hill for photography?
The best time is during the "golden hour," which occurs roughly one hour before sunset. This provides soft, warm light that enhances facial features and landscape textures. The subsequent "blue hour" is excellent for capturing city lights and long-exposure shots.
How should I prepare my camera for low-light conditions on the summit?
Increase your ISO sensitivity to handle lower light, but be mindful of graininess. Use a wider aperture (lower f-number) to let in more light. If possible, use a tripod for stability during longer exposures, especially during the blue hour.
Is it safe to take photos near the edge of Robert Hill?
Safety should always be the priority. The terrain can be uneven and slippery. Stay on marked trails, keep a firm footing, and never lean over edges for a better angle. If the ground is unstable, step back and use a zoom lens instead.
What clothing is recommended for a Robert Hill run finale?
Wear moisture-wicking athletic wear for the run, but bring a lightweight windbreaker or fleece for the summit. Earth tones blend well with the natural surroundings. Ensure your footwear is clean and suitable for trail photography.
How can I improve the narrative of my tour finale photos?
Structure your photos in a three-act sequence: the struggle (steep climbs), the climb (progress), and the release (summit views). Include details like gear, expressions, and environmental elements to tell a complete story rather than just showing a single pretty view.