You’ve got the track, the vibe is right, and the energy is peaking. But the moment you hit record on the first day of shooting, you realize you have no idea what shot comes next. This is where most music videos lose their momentum. Without a plan, you end up with a pile of random clips that don't fit the beat, leading to a frantic editing session where you try to "fix it in post." The truth is, a great music video isn't made in the edit-it's mapped out before the camera even leaves the bag.
Key Takeaways for Visual Planning
- Templates turn abstract song moods into concrete shot lists.
- Pacing is dictated by the relationship between shot duration and BPM.
- Consistent templates prevent expensive mistakes during production.
- Effective storyboarding balances narrative arcs with performance shots.
Why Storyboard Templates Matter for Music Videos
In a standard film, the dialogue drives the scene. In a music video, the BPM (Beats Per Minute) is the director. If you're working with a high-energy track at 128 BPM, your cuts need to be snappier than a ballad at 70 BPM. A Storyboard Template is a pre-visualized blueprint that maps out every camera angle, movement, and transition against the song's timeline.
Using a template instead of blank paper forces you to think about the technical side of the art. You aren't just drawing a cool picture; you're deciding if that shot is a wide, a close-up, or a tracking shot. This prevents the common mistake of filming 20 identical performance shots and realizing later that you have no "establishing shots" to tell the viewer where the artist is. When you use a structured template, you essentially create a visual map that your cinematographer and lighting crew can follow without needing a million questions every ten minutes.
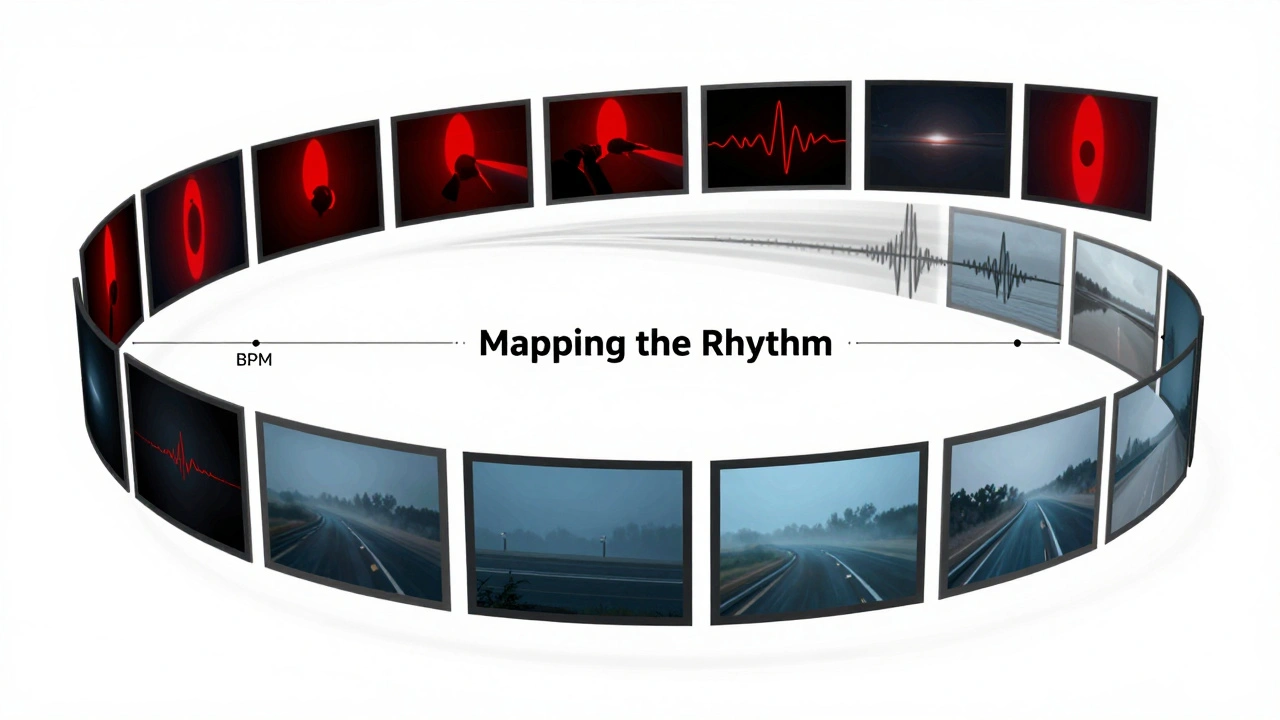
Mapping the Rhythm: Pacing and Shot Duration
Pacing isn't just about cutting on the beat; it's about manipulating the viewer's emotion. If every cut happens exactly on the snare hit, the video becomes predictable and robotic. To create a professional flow, you need to vary your Shot Duration. This is the actual length of time a single clip stays on screen before the next cut.
Think about a bridge in a song. Usually, the tension builds, and the sonic space opens up. This is your cue to move from rapid-fire cuts to a long, sweeping Tracking Shot. By marking these transitions in your template, you ensure the visual energy mirrors the audio energy. If the song drops into a heavy bass section, your storyboard should reflect that with high-contrast visuals or jarring, rhythmic cuts that hit the sub-bass frequencies.
| Song Section | Typical BPM Feel | Recommended Shot Type | Pacing Strategy |
|---|---|---|---|
| Intro | Building | Wide/Establishing | Slower cuts, setting the scene |
| Verse | Steady | Medium/Close-ups | Rhythmic, following the lyrical flow |
| Pre-Chorus | Rising | Fast Zooms/Cuts | Increasing cut frequency (accelerando) |
| Chorus | Peak Energy | Dynamic/Action Shots | Symmetric cuts, high-impact visuals |
| Bridge | Atmospheric | Slow Pan/Tracking | Longer takes, emotional breathing room |
Essential Elements of a Music Video Template
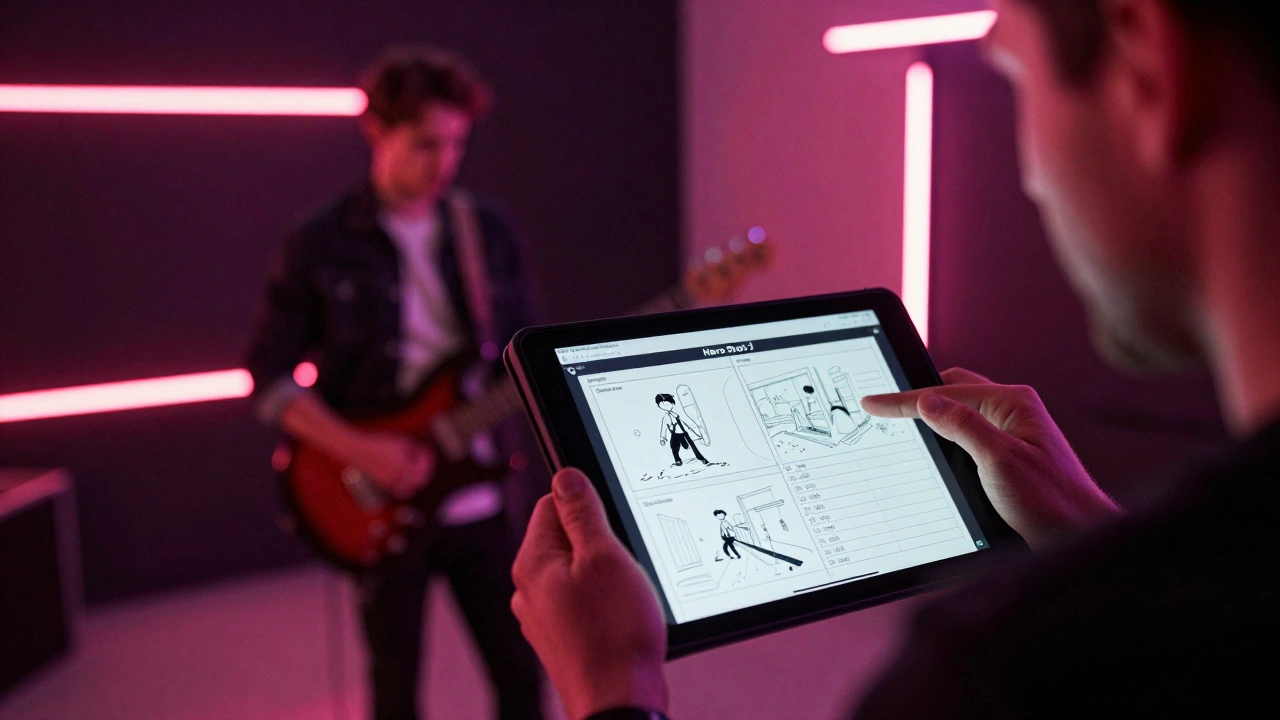
A music video storyboard templates system needs more than just boxes for drawing. To be actually useful on set, your template must include specific metadata for every frame. If you're just sketching, you're an artist; if you're adding technical specs, you're a director.
Every frame in your template should have a corresponding Shot List entry. This is a detailed list that describes the camera's position. For example, instead of just writing "Artist singing," you should write "Low angle, 35mm lens, handheld movement, tracking artist from left to right." This level of detail removes the guesswork. When the crew sees "Low angle," they immediately know to bring the tripod down or switch to a gimbal.
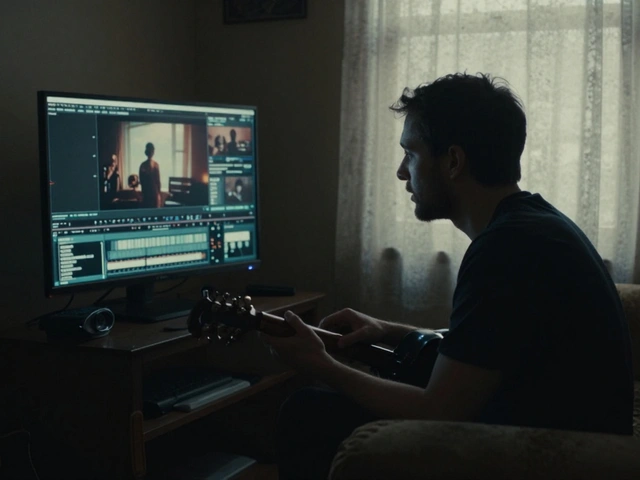
You also need a column for "Timestamp." Since music videos are timed to a specific audio file, your storyboard must be synced to the second. If the beat drops at 0:45, your template should clearly show the transition to the high-energy shot exactly at that mark. This allows the editor to align the visuals with the waveform in a Non-Linear Editor (NLE) like Adobe Premiere Pro or DaVinci Resolve without having to hunt through hours of footage.
Step-by-Step: Building Your Visual Plan
- Audio Deconstruction: Listen to the track and mark the structural shifts. Identify the intro, verses, choruses, and the "money moments" where the visuals must be most impactful.
- Concept Brainstorming: Decide on the central theme. Is it a linear story, a conceptual abstract, or a pure performance piece? This dictates whether your template needs a narrative flow or a variety of performance angles.
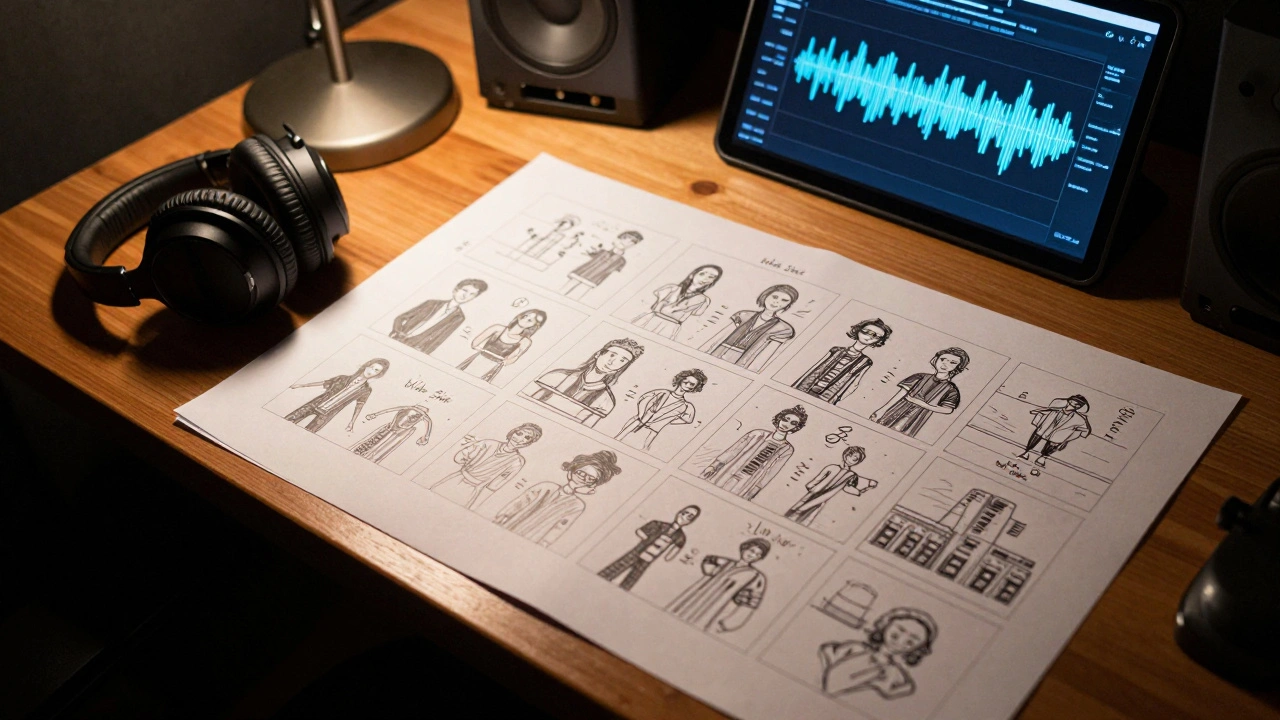
- Thumbnail Sketching: Use your template to draw rough versions of the shots. Don't worry about art quality; focus on composition. Where is the artist? Where is the light coming from?
- Technical Annotation: For every sketch, assign a lens (e.g., 50mm for portraits, 16mm for wide landscapes) and a camera movement (e.g., pan, tilt, dolly).
- Pacing Check: Review the sequence of drawings. Does the transition from shot A to shot B feel too abrupt? Does it match the energy of the song?
Avoiding Common Planning Pitfalls
One of the biggest traps directors fall into is the "over-planned" video. If you storyboard every single single-frame cut, you might stifle the organic energy of the artist on set. The goal of a template is to provide a safety net, not a cage. Leave a few "wildcard" slots in your storyboard for improvisational shots. These are often the most authentic moments in a video.
Another mistake is ignoring the Color Palette. A professional template often includes a small color swatch next to each scene. If the first verse is blue and moody, but the chorus is bright red and aggressive, that shift needs to be planned. If you don't, you'll end up with a visual clash that distracts from the music rather than enhancing it.
Lastly, don't forget about the "B-Roll." Many beginners only storyboard the artist singing. This leads to a boring video. Use your template to schedule B-Roll-cutaway shots of the environment, textures, or symbolic imagery-that fill the gaps between performance shots and keep the viewer engaged.
Do I need to be good at drawing to use a storyboard template?
Absolutely not. Storyboarding is about communication, not fine art. You can use stick figures, basic shapes, or even reference photos from other videos. The most important part is the layout and the technical notes (like camera angle and movement) that tell the crew what to do.
How do I sync my storyboard to the music?
The best way is to create a timeline in your template. Divide your page by song sections or use a timestamp column. For every key beat or lyric change, start a new frame. This ensures that when you move to production, you know exactly how many seconds of footage you need for each specific shot.
What is the difference between a shot list and a storyboard?
A shot list is a text-based checklist of everything you need to film (e.g., "Shot 1: Wide shot of city skyline"). A storyboard is the visual representation of that list, showing exactly how the shot should look. You need both: the storyboard for the vision and the shot list for the logistics.
How many frames should a typical 3-minute music video have?
It depends on the pacing. A slow ballad might only need 20-30 key frames. A fast-paced rap or pop video could require 60-100 frames to capture the rapid cuts. Focus on mapping the major transitions and the most complex shots rather than every single micro-cut.
Can I use digital tools instead of paper templates?
Yes, tools like Canva, Boords, or even simple Google Slides are great. Digital templates allow you to drag and drop reference images quickly and share the document instantly with your team, making revisions much faster than redrawing on paper.
Next Steps for Your Production
Once your storyboard is finished, the next move is to create a "Pre-Viz" (Pre-Visualization). This is essentially a rough cut of your video using stock footage or simple sketches timed to the music. It helps you spot pacing issues before you even hire a crew.
If you're working with a limited budget, focus your energy on the "Hero Shots." These are the 3-5 visually stunning moments that will define the video. Allocate the most time and planning in your template to these specific frames, as they provide the most emotional impact and professional polish.