
Handing over a finished track to a remixer is less like sending a letter and more like handing them the blueprints for a building. If the structure is messy, the walls will fall down. In the world of electronic music and modern production, stem delivery has become the standard handshake between original producers and remix artists. It’s not just about zipping up files; it’s about creating a workspace that allows another creative mind to deconstruct your sound without losing their sanity.
Many producers think they’re done when the master bounces out clean. But for a remixer, that master file is a black box. They can’t isolate the kick from the snare, or the vocal chop from the reverb tail. They need the ingredients separately. This guide breaks down exactly how to prepare those files so your track gets the attention it deserves, rather than being tossed into the "too complicated" pile.
Why Stems Matter More Than Masters
A master file is a flattened representation of your mix. Once you bounce it, everything is glued together. A remixer might want to pitch-shift a specific lead line, change the drum pattern, or strip away a background texture. With a master, they have to use destructive EQ or risky sidechain compression to carve out space. With stems, they have full control.
The primary goal of stem delivery is flexibility. You are providing the raw materials in their most usable form. Think of it like a restaurant kitchen. The chef (the remixer) doesn't want pre-cooked meals; they want fresh vegetables, proteins, and sauces separated by type. If you hand them a fully plated dish, they can only eat it as is. If you hand them the components, they can create something entirely new.
This approach also signals professionalism. When a label or artist receives a neatly organized folder with clear naming conventions, it shows you respect their time. It reduces back-and-forth emails asking, "Wait, which one is the dry vocal?" or "Can you send me the drums without the overheads?"
Anatomy of a Proper Stem Folder
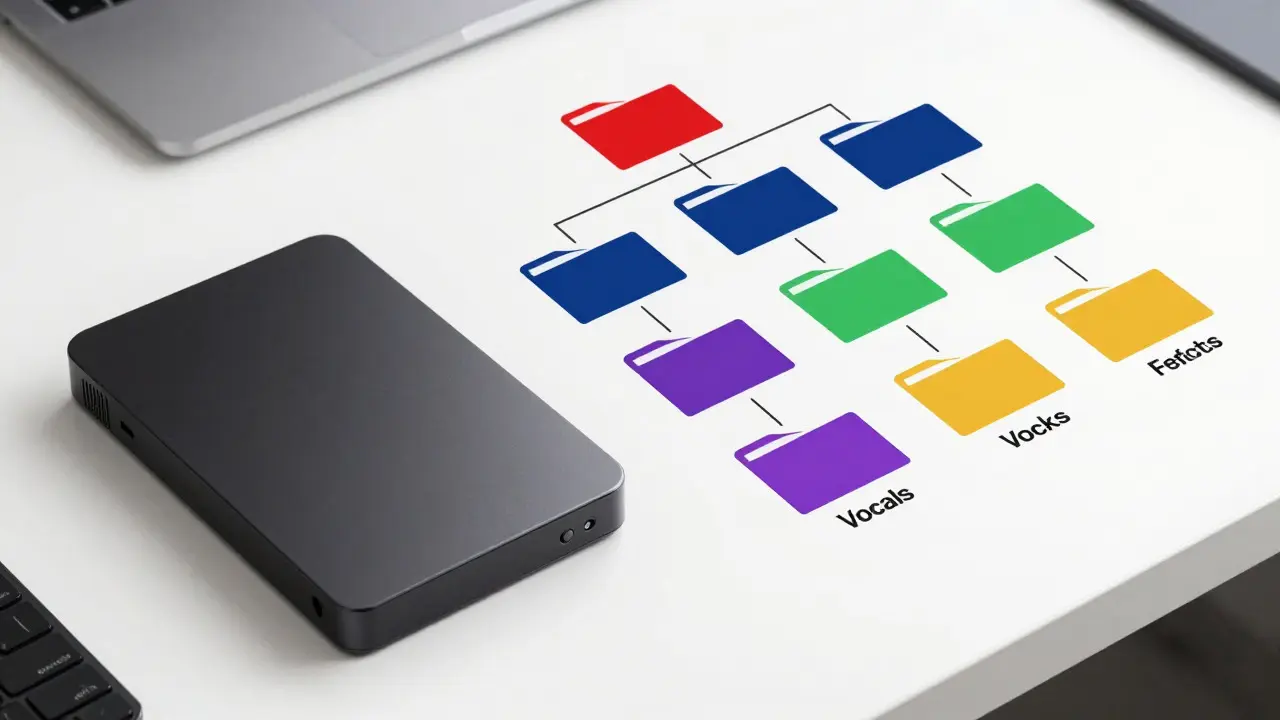
Organization is king. A chaotic folder structure is the fastest way to lose interest. Before you export anything, decide on your hierarchy. Most professional workflows follow a simple directory tree:
- 01_Drums: Kick, Snare, Hi-Hats, Percussion, Claps.
- 02_Bass: Sub-bass, Mid-bass, Synth bass lines.
- 03_Melodic: Leads, Pads, Arpeggios, Plucks.
- 04_Vocals: Dry vocals, Wet vocals (with FX), Backups, Ad-libs.
- 05_Effects: Risers, Impacts, Transitions, Noise sweeps.
- 06_Master: The final mixed-down stereo file (for reference).
Inside each subfolder, keep the file names descriptive but short. Avoid spaces if possible; use underscores instead. For example, Kick_Main.wav is better than kick main final v2 real.wav. Consistency helps the remixer navigate quickly.
One common mistake is dumping all instruments into a single "Instruments" folder. While this seems simpler, it forces the remixer to sort through dozens of files to find the bass. Grouping by musical function (Drums, Bass, Melody) aligns with how we perceive music and makes rearranging sections much faster.
Technical Specs: Sample Rates, Bit Depth, and Format
Now for the technical details that often trip people up. What format should you use? Almost universally, it’s WAV. AIFF works too, but WAV is the industry standard for compatibility across DAWs like Ableton Live, Logic Pro, and FL Studio.
Here are the non-negotiable specs for high-quality stem delivery:
- Sample Rate: Match the project sample rate. If you worked at 48kHz, deliver at 48kHz. If you worked at 44.1kHz, deliver at 44.1kHz. Do not convert unless necessary, as resampling can introduce artifacts.
- Bit Depth: Always deliver at 24-bit. This provides enough dynamic range to handle loud peaks without clipping while preserving subtle nuances. 16-bit is generally considered too low for source material because it limits headroom for further processing.
- File Type: Use uncompressed formats. MP3s destroy phase information and introduce compression artifacts that are nearly impossible to fix later.
Length matters too. Your stems should be exactly the same length as your master. If your song is 3 minutes and 42 seconds long, every stem file must be 3 minutes and 42 seconds long. If a synth pad only plays for the first minute, the remaining two minutes and forty-two seconds should be silence, not missing data. This ensures that when the remixer loads all stems into their DAW, everything stays perfectly aligned without manual shifting.
Mixing Considerations: Dry vs. Wet
This is where opinions vary, but there is a best practice. Should you send dry stems or wet stems?
The golden rule: Send dry stems for elements the remixer might want to process, and wet stems for elements that are integral to the sound design.
For example, your kick drum should be dry. Why? Because the remixer might want to add their own compression, saturation, or transient shaping. If you send a kick that already has heavy distortion and compression, you’re limiting their options. Keep the core rhythmic elements (kick, snare, hats) as clean as possible.
Vocals are trickier. Usually, you send two versions: a dry vocal (no reverb, no delay, just the voice) and a wet vocal (with the reverb/delay you used in the mix). The dry version allows the remixer to place the vocal in their own spatial environment. The wet version gives them a reference for how it sounded in your original context.
What about effects? If you have a riser that is purely an effect, send it as its own stem. If you have a delay throw on a vocal that is part of the melodic identity, consider baking it into the vocal stem or providing it as a separate "FX" stem. Clarity is key. If a remixer hears a weird echo and can’t tell if it’s part of the vocal or a separate effect, they’ll assume it’s a mix error.
Naming Conventions and Metadata
You’ve organized the folders. Now, let’s talk about the files themselves. Naming conventions are your silent communication tool. Here is a robust template you can adopt immediately:
| Category | Example File Name | Description |
|---|---|---|
| Drums | DR_Kick_Dry.wav | Main kick drum, no effects |
| Drums | DR_Snare_Wet.wav | Snare with room reverb |
| Bass | BS_Sub_808.wav | Low-end sub bass element |
| Melodic | ML_Pad_Am7.wav | Chord pad, A minor 7 progression |
| Vocals | VC_Lead_Dry.wav | Main vocal, no FX |
| Effects | FX_Riser_Intro.wav | Rising noise sweep for intro |
Using prefixes like DR, BS, ML, VC, and FX helps visual scanning. When a remixer looks at their browser window, they can instantly see what category a file belongs to without opening it. This small detail saves hours of mental load during a complex remix session.
Additionally, include a text file named README.txt in the root folder. In this file, list any special notes. For example: "Vocal stem contains slight tape saturation," or "Bass stem is tuned to C#." This prevents assumptions and clarifies any unique processing you applied.

Common Pitfalls to Avoid
Even experienced producers make mistakes when delivering stems. Here are the top three errors that cause headaches for remixers:
- Phase Issues: If you split a multi-mic setup (like a drum kit with multiple mics) into individual stems, ensure they are in phase. If the remixer sums them up and the low end disappears, you’ve got a phase problem. Listen to each stem individually and in combination before exporting.
- Inconsistent Lengths: As mentioned, all stems must match the master length. A stem that is 2 seconds shorter will cause the timeline to shift if the remixer uses automatic alignment tools. Double-check the duration of every single file.
- Over-Processing: Don’t send stems that are already mastered. No limiting, no loudness normalization. The stems should be at a healthy level, leaving plenty of headroom. Aim for peak levels around -6dB to -3dB. This gives the remixer room to push the dynamics without hitting digital clipping.
Another subtle pitfall is forgetting to zero-cross trim. If you cut a stem at a point where the waveform isn’t crossing the zero line, you might hear a click or pop when the file starts or stops. Most DAWs have a "zero-crossing" option in their export settings. Enable it to ensure clean transitions.
Final Checks Before Sending
Before you zip that folder and hit send, run through this quick checklist. It takes five minutes but can save days of confusion.
- Do all stems match the master length exactly?
- Are all files 24-bit WAV?
- Is the folder structure logical and consistent?
- Did you include a README with notes on special processing?
- Have you listened to the stems in a different DAW to check for import errors?
- Are the file names free of spaces and special characters?
If you pass these checks, you’re ready. Your stem delivery is now a professional asset, not a burden. The remixer will appreciate the clarity, and you’ll increase the chances of getting a high-quality remix that honors your original vision while adding their own twist. In the collaborative world of music production, good preparation is the highest form of respect.
What is the difference between stems and multitracks?
A multitrack usually refers to the raw recording sessions, including all microphones and takes. Stems are grouped, mixed-down versions of specific elements (like all drums combined into one file). Stems are cleaner and easier to manage for remixers because they reduce the number of files while maintaining separation.
Should I include the master file with the stems?
Yes, always include the final master file. It serves as a reference for the overall balance and sound. The remixer can compare their new arrangement against the original mix to ensure consistency in tone and energy.
How large should the stem files be?
It depends on the length and sample rate. A 4-minute track at 48kHz/24-bit will result in roughly 50MB per stereo stem. For a typical set of 20-30 stems, expect a total size of 1-2GB. Use a cloud service or physical drive if email attachment limits are an issue.
Do I need to normalize the stems?
No, avoid normalizing. Normalization raises the quietest parts to match the loudest, which can distort the dynamic relationship between elements. Instead, manually adjust gain so that the loudest peaks sit around -6dB to -3dB, leaving headroom for the remixer.
What if I only have a few stems, not all instruments?
That’s fine. You don’t need to split every single note. Focus on the major elements: Drums, Bass, Main Melody, Vocals, and Key Effects. If a minor synth pluck is buried deep in the mix, it’s okay to leave it in the master or group it with other mid-range elements. Prioritize the elements that define the track’s structure.