Walk into any big-box electronics store or browse a major online retailer, and you’ll see it: walls of shiny microphones, tangled cables, and interfaces with more knobs than a spaceship cockpit. The industry loves to sell us the idea that we need everything at once. But here’s the truth-most of that gear is noise. If you’re starting a podcast, recording vocals, or just trying to capture clean audio from your bedroom, you don’t need a $5,000 setup. You need three specific things done right.
I’ve spent years testing gear in my Portland studio, and I’ve watched beginners blow their budgets on the wrong items. They buy a cheap microphone because it looks cool, then wonder why their recordings sound like they were made in a bathroom. The secret isn’t spending more; it’s spending smarter. Let’s cut through the marketing hype and look at what actually moves the needle in audio quality.
The Unavoidable Truth: Your Room Is Part of the Gear
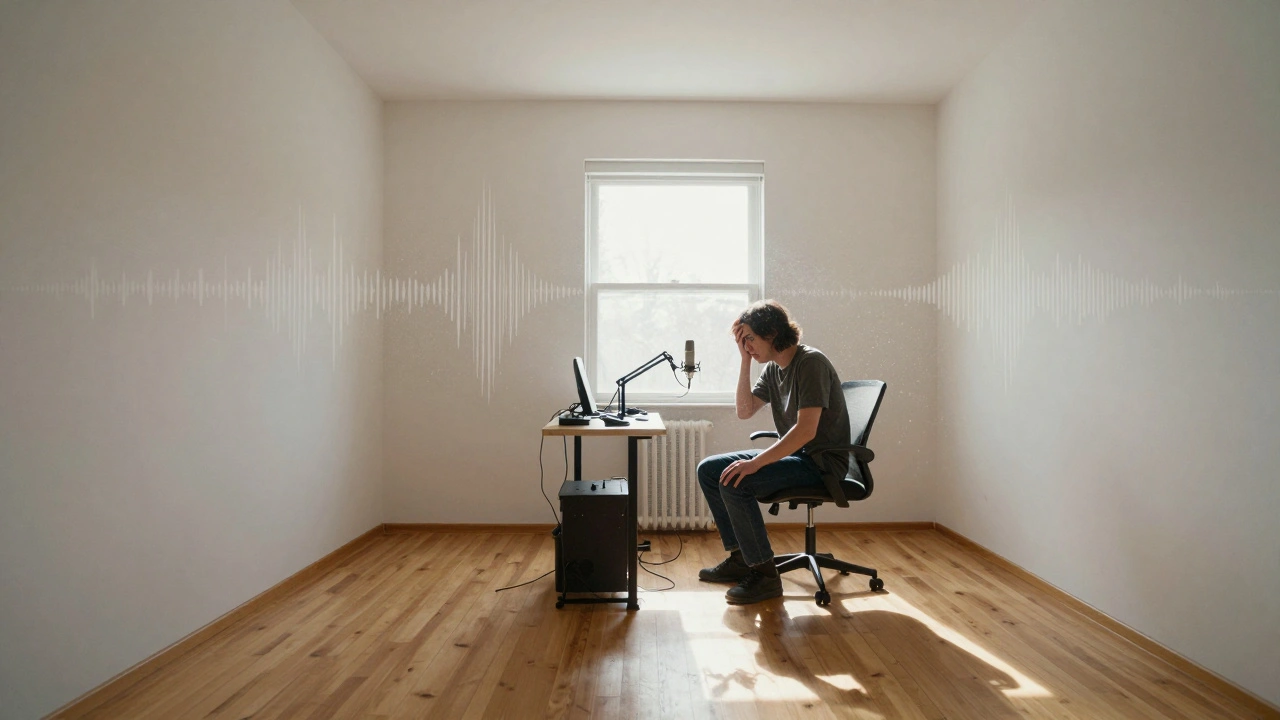
Before you buy a single piece of hardware, you need to accept a hard fact: no microphone can fix a bad room. This is where most people fail. They drop $300 on a condenser mic and record in a square, empty room with hardwood floors. The result? A hollow, echoing mess that sounds amateurish regardless of how expensive the gear is.
Acoustic treatment is not decoration; it is the foundation of professional-sounding audio. You don’t need to build a floating studio. You just need to manage reflections. Start with acoustic panels. These are thick, dense foam or fiberglass boards that absorb sound waves before they bounce back into your microphone. Place them at "first reflection points"-the spots on the wall where sound bounces between your ears and your speakers.
If you’re on a tight budget, use what you have. Heavy moving blankets hung over walls work surprisingly well. Bookshelves filled with books act as diffusers, scattering sound waves rather than absorbing them completely. A rug under your desk stops floor reflections. Treat your space first. It’s the cheapest upgrade you can make, and it makes every other piece of equipment perform better.
The Microphone: Choosing Your Voice Capture Tool
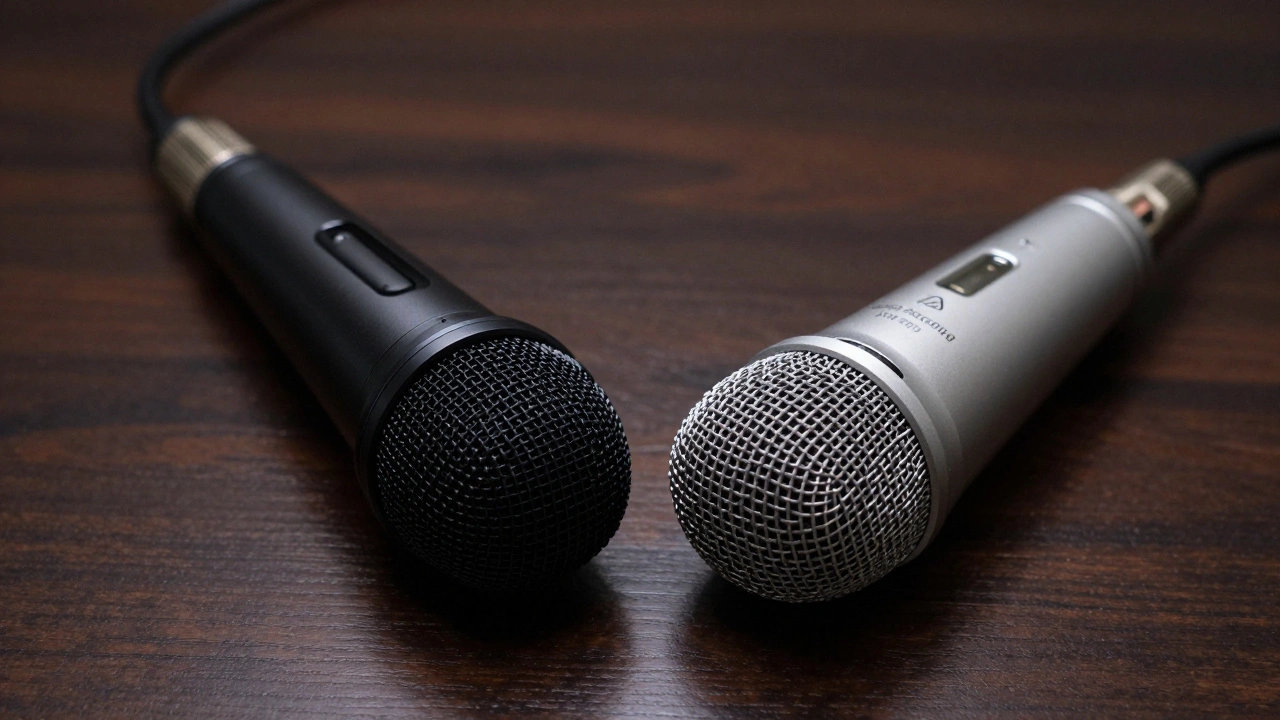
Once your room is tamed, you need a microphone. This is the transducer-the device that turns air pressure changes into electrical signals. There are two main types you need to know about: dynamic and condenser. Understanding the difference will save you hundreds of dollars and hours of frustration.
| Feature | Dynamic Microphone | Condenser Microphone |
|---|---|---|
| Sensitivity | Lower (rejects background noise) | Higher (captures detail and nuance) |
| Power Requirement | None (passive) | Requires Phantom Power (+48V) |
| Best For | Loud sources: drums, guitar amps, untreated rooms | Quiet sources: vocals, acoustic instruments, treated studios |
| Durability | Very rugged | Fragile (sensitive to humidity/heat) |
| Price Range | $50 - $200 | $100 - $500+ |
If you are recording podcasts, voiceovers, or singing in a room that isn’t perfectly treated, start with a dynamic microphone. Specifically, look at the Shure SM7B or the Electro-Voice RE20. These mics are insensitive to room noise. They force you to get close to the source, which naturally reduces background hiss and echo. They are tough, require no special power, and sound professional out of the box.
Condenser microphones, like the Audio-Technica AT2020 or Rode NT1, are more sensitive. They capture the "air" and high-frequency details that make vocals sound lush. However, they also pick up the hum of your refrigerator, the traffic outside, and the reverb of your ceiling. Only choose a condenser if you have controlled your room acoustics.
The Bridge: Why the Audio Interface Matters
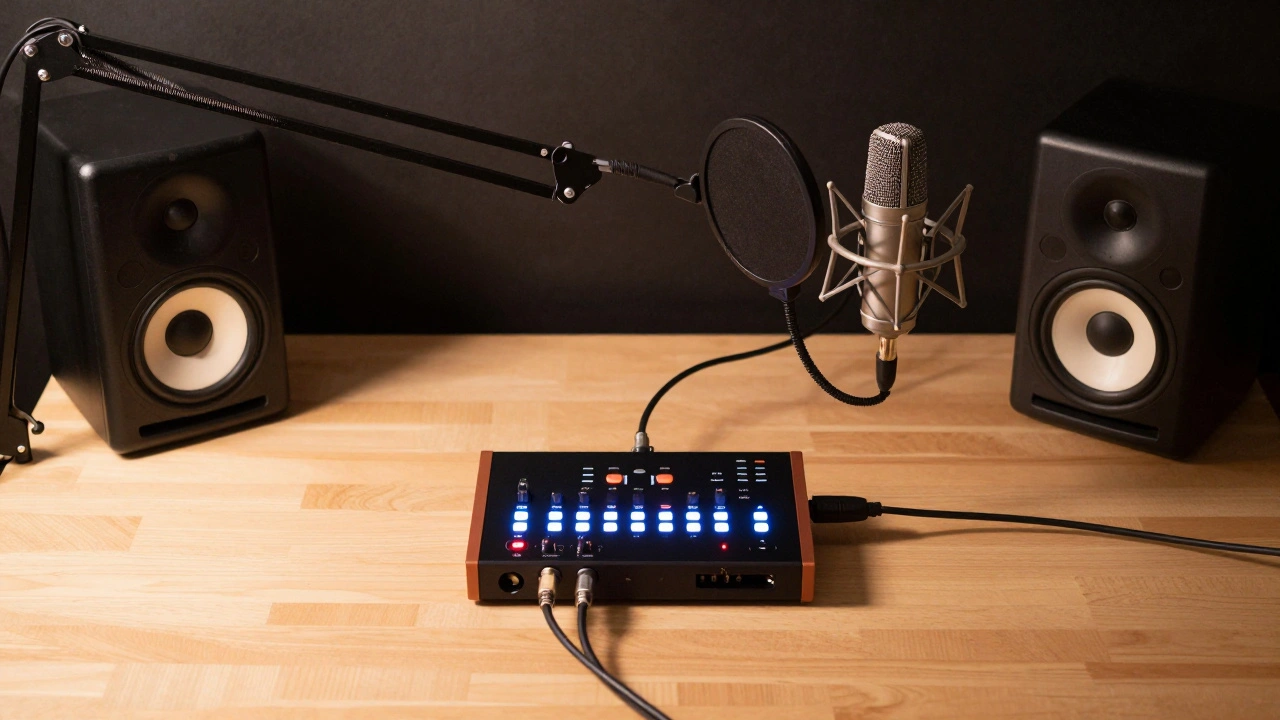
Your microphone cannot plug directly into your computer. USB microphones exist, but they limit your growth. Instead, you need an audio interface. This small box converts the analog signal from your mic into digital data your computer can understand. More importantly, it provides phantom power for condensers and, crucially, preamps.
A preamp amplifies the tiny signal from your microphone to a usable level. Cheap interfaces have noisy, harsh preamps. Good ones are transparent-they amplify the signal without adding coloration or hiss. When choosing an interface, ignore the number of inputs unless you plan to record a band simultaneously. Focus on the quality of the AD/DA converters and the gain structure.
For most beginners, the Focusrite Scarlett series or the Universal Audio Volt series offers excellent value. They provide clean gain, solid build quality, and drivers that just work on both Windows and macOS. Avoid buying the cheapest interface you can find. A noisy interface will ruin even the best microphone performance.
Monitoring: Hearing the Truth
You might be tempted to record using headphones. While headphones are great for tracking (recording) to prevent bleed into the microphone, they lie when mixing. Headphones create a false sense of stereo width and bass response because the sound is isolated in your ear canal.
To mix accurately, you need studio monitors. These are flat-response speakers designed to reveal flaws, not flatter your ego. If your mix sounds good on monitors, it will sound good everywhere. If it only sounds good on headphones, it will likely fall apart on car stereos or phone speakers.
Start with near-field monitors from brands like KRK, JBL, or Adam Audio. Place them at ear level, forming an equilateral triangle with your head. This is called the "sweet spot." Do not buy consumer hi-fi speakers. They are tuned to boost bass and treble to sound exciting, which leads to mixes that are muddy and harsh. Monitors are boring by design. That boredom is their greatest asset.
Cables and Accessories: The Hidden Killers
We often overlook the wires, but a bad cable can introduce ground loops, static, and intermittent dropouts. Always use balanced XLR cables for your microphone connections. Balanced cables cancel out electromagnetic interference from lights and computers.
Invest in a sturdy mic stand and a pop filter. A pop filter is a mesh screen placed between you and the microphone. It stops plosives-hard "P" and "B" sounds-from blasting the diaphragm and causing low-frequency booms. It’s a $15 tool that saves hours of editing time. Don’t skimp on the stand either. Wobbly stands cause handling noise that ruins takes.
The Software Layer: DAWs and Plugins
Your hardware is useless without software to record and edit it. This is called a Digital Audio Workstation, or DAW. Popular options include Ableton Live, Logic Pro (Mac only), and Reaper. Reaper is particularly notable for its affordability and lightweight footprint. It runs efficiently on older computers and has a generous trial period.
You do not need expensive plugins to start. The stock EQ and compressor included in your DAW are sufficient for 90% of tasks. Learn to use these tools before buying third-party effects. Compression controls dynamics, making quiet parts louder and loud parts quieter. EQ shapes the tonal balance, cutting mud and boosting clarity. Mastering these two concepts will improve your recordings more than any new piece of hardware.
Building Your First Setup: A Practical Checklist
Here is a realistic starter kit that balances cost and performance. This setup assumes you are recording vocals or podcasting in a moderately treated room.
- Microphone: Shure SM7B (Dynamic) or Audio-Technica AT2020 (Condenser). Choose based on your room’s acoustic treatment.
- Interface: Focusrite Scarlett Solo or Universal Audio Volt 1. Provides clean preamps and easy connectivity.
- Cables: One high-quality 10-foot XLR cable. Brands like Mogami or Canare offer durability.
- Accessories: Adjustable boom arm stand, pop filter, and a shock mount to isolate vibrations.
- Monitors: JBL 305P MkII or KRK Rokit 5 G4. Pair with monitor controller for volume management.
- Software: Reaper (affordable license) or GarageBand (free on Mac).
This list covers the essentials. As you grow, you can add more microphones, outboard gear, or better monitors. But this foundation ensures that every dollar you spend contributes to higher fidelity.
Do I really need an audio interface if I have a USB microphone?
Not immediately, but yes, eventually. USB microphones have built-in interfaces, which simplifies setup. However, they lock you into one microphone model. An external interface allows you to swap microphones, record multiple sources simultaneously, and generally offers higher quality preamps and converters. If you are serious about audio production, invest in an interface early.
What is the most important factor in microphone selection?
The type of source and your room environment. Dynamic microphones are forgiving in untreated rooms and handle loud sources well. Condenser microphones capture more detail but require acoustic treatment to avoid picking up room noise. Match the mic to your space, not just your budget.
Can I use regular headphones for mixing?
You can, but it is not ideal. Headphones provide an unnatural stereo image and exaggerated bass response due to their proximity to the eardrum. Studio monitors provide a flat frequency response and accurate stereo imaging, allowing you to make decisions that translate well to other playback systems. Use headphones for reference, but rely on monitors for critical mixing decisions.
How much should I spend on cables?
Enough to ensure reliability. Cheap cables often have poor shielding, leading to interference and connection issues. Invest in brand-name XLR cables from reputable manufacturers like Mogami, Canare, or Neutrik. A good cable lasts decades and prevents frustrating technical problems during recording sessions.
Is acoustic treatment worth the effort?
Absolutely. Acoustic treatment is the single most impactful change you can make to your recording quality. No amount of expensive gear can compensate for a poorly treated room. Simple solutions like heavy blankets, rugs, and DIY panels can dramatically reduce reflections and improve clarity, making your recordings sound professional.