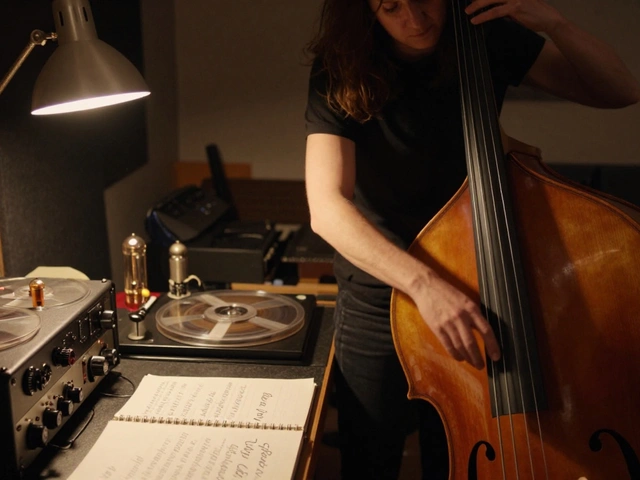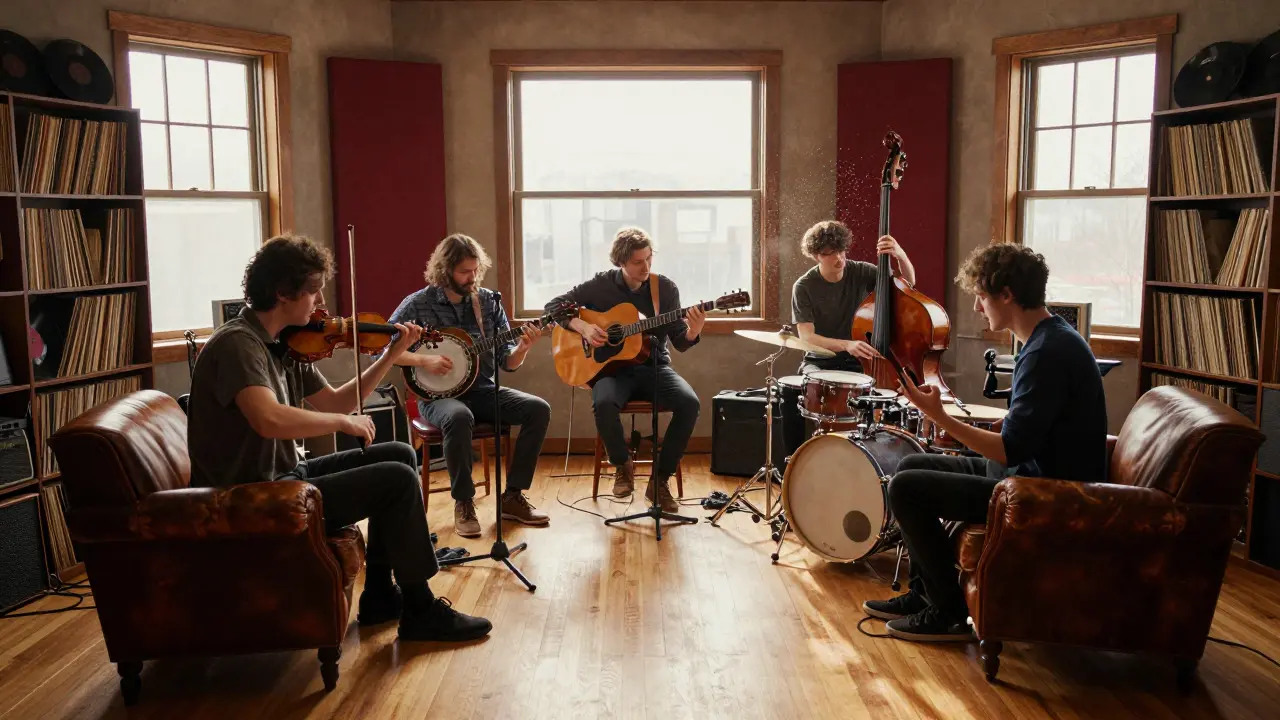
There is a specific electricity in the air when a band plays together in one room without clicking stop. It’s messy, it’s loud, and sometimes someone hits a wrong note that becomes the highlight of the track. This is the heart of roots music is a genre rooted in traditional folk, blues, and country styles that prioritizes organic instrumentation and raw emotional delivery over digital perfection. Unlike pop or electronic production where every stem is quantized and tuned, roots audiences crave the human element. They want to hear the breath before the vocal line, the creak of the chair, and the slight drift in tempo that happens when musicians listen to each other rather than a click track.
Recording these live takes requires a different mindset than standard studio work. You are not building a song brick by brick; you are capturing a moment. The goal is to preserve the energy of the performance while managing the technical challenges of multiple microphones picking up unwanted bleed. If you have ever tried to record a full band in your living room and ended up with mud on the bass guitar because the kick drum mic was too close, you know the struggle. This guide breaks down how to get that authentic, unpolished sound without losing clarity.
Why Live Takes Matter in Roots Genres
In genres like Americana, bluegrass, or old-timey folk, the "mistake" is often the feature. Think about classic recordings from the 1960s or 70s. There was no Auto-Tune, no pitch correction, and very little editing. The magic came from the interaction between players. When a fiddle player hears the guitarist shift their strumming pattern, they react instantly. That reaction is what creates the groove.
Digital audio workstations (DAWs) make it easy to fix things, but fixing things can kill the vibe. If you tighten up the drums to match a grid, you lose the push-and-pull feel that defines much of roots rhythm. By committing to a live take, you force the musicians to stay present. It also saves time in post-production. Instead of tracking twenty separate parts, you might only need three or four takes to find the one that feels right. This approach respects the tradition of the music, which historically evolved through oral transmission and live performance, not isolated studio sessions.
Setting Up the Room: Acoustics and Layout
Your room is your first instrument. Before you plug in a single cable, walk around the space and listen. Where does the sound bounce? Are there bare walls that create slap-back echo? For roots music, you generally want a room with some natural reverb but not so much that the instruments blur together. A wooden floor helps, as does having some soft furniture or rugs to dampen high frequencies.
The layout of the band is critical for minimizing bleed. Bleed is the sound from one microphone leaking into another. In a live setup, you cannot avoid bleed entirely, but you can manage it. Place the loudest instruments farthest apart. Typically, the drums are the biggest source of bleed, so position them away from the delicate mics on the banjo or mandolin. Use screens if necessary, but don’t overdo it. Heavy isolation booths can deaden the room tone that gives the recording its warmth. A simple foam screen between the singer and the drummer can make a huge difference without killing the ambient sound.
Microphone Selection and Placement
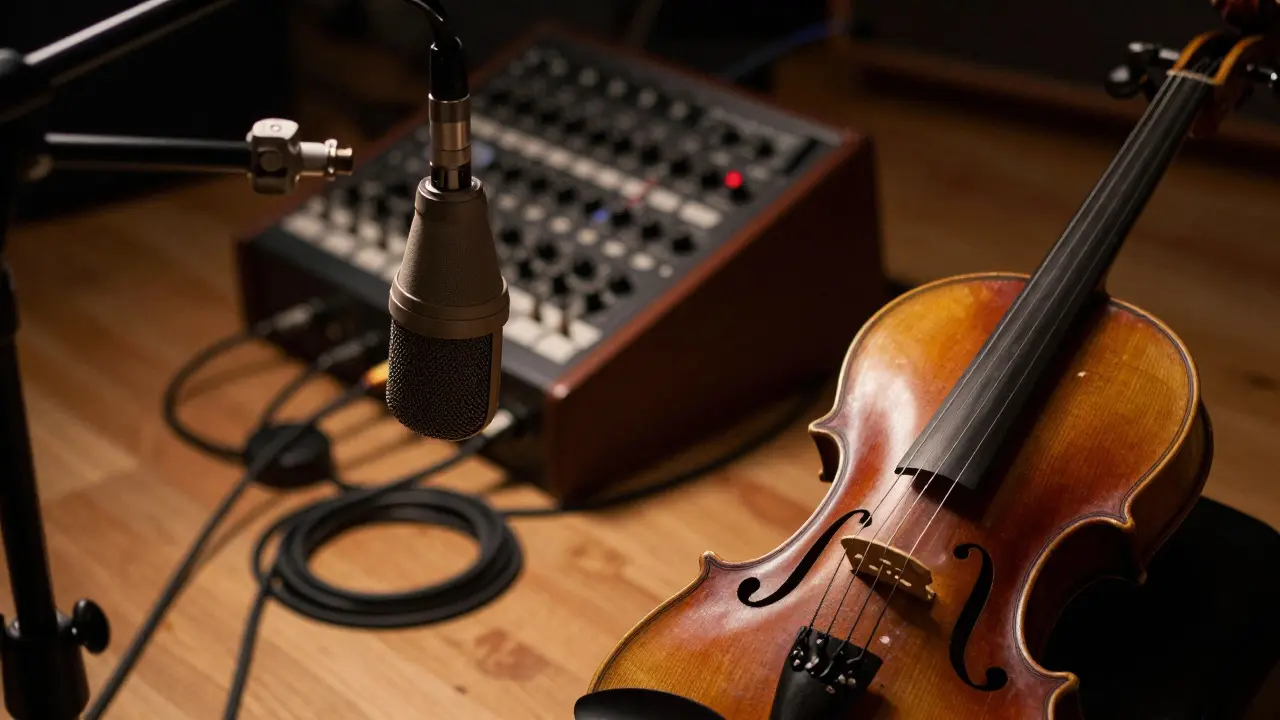
Choosing the right microphones is half the battle. For a typical roots ensemble, you need a mix of dynamic and condenser mics. Dynamic mics are robust and handle high sound pressure levels well, making them ideal for drums and electric amplifiers. Condenser mics are more sensitive and capture detail, which is perfect for acoustic guitars, vocals, and stringed instruments.
| Instrument | Microphone Type | Placement Tip |
|---|---|---|
| Kick Drum | Dynamic (e.g., SM57) | Inside the kick hole, aimed at the beater head |
| Snare Drum | Dynamic (e.g., SM58) | Above the snare, angled slightly toward the center |
| Vocals | Large Diaphragm Condenser | Close proximity, use a pop filter |
| Acoustic Guitar | Small Diaphragm Condenser | At the 12th fret, pointing toward the neck joint |
| Fiddle/Mandolin | Small Diaphragm Condenser | Just above the bridge, capturing the body resonance |
For the room, consider using a pair of stereo microphones. An XY configuration provides good phase coherence and is forgiving of placement errors. An ORTF setup offers a wider image but requires precise positioning to avoid phasing issues. Start with a basic setup and add mics only if you need more separation. Every extra microphone introduces more potential for phase cancellation and bleed.
Managing Tempo and Groove Without a Click
This is the most controversial part of live recording. Should you use a click track? For many roots artists, the answer is no. A metronome can lock in the tempo, but it can also flatten the dynamics. Musicians tend to rush when they are excited and drag when they are feeling the emotion. That ebb and flow is vital. However, if your band is not tight enough to hold a steady tempo, a click might be necessary. Try using a silent click that only the drummer hears through headphones. This allows the rest of the band to play freely while keeping the foundation stable.
If you decide to go fully free-tempo, communicate clearly before the take. Agree on a count-in. Maybe the bassist starts with a single note, then the drums come in. Establishing a clear entry point prevents the take from starting weakly. Once the groove is established, let it breathe. Don’t interrupt the take just because someone missed a bar. Often, those moments lead to the best improvisations.
Capturing the Performance: Monitoring and Communication
Monitoring is tricky in a live setting. If everyone wears headphones, they lose the ability to hear each other acoustically. This can disconnect the group. A better approach is to use a minimal monitor mix. Give the vocalist a small wedge speaker for their own voice, and let the instrumentalists rely on hearing the room. This keeps the connection between players intact. Use hand signals or eye contact to cue changes. Avoid talking during the take unless absolutely necessary. Even a whispered comment can break the concentration of the entire group.
Record more takes than you think you need. The first two or three takes are usually warm-ups. The fourth or fifth take is often where the magic happens. Keep recording until the energy drops. It is easier to choose from ten great takes than to try to salvage one mediocre one. Label your files clearly with the date, song title, and take number. Future you will thank you when you are digging through archives months later.
Post-Production: Editing vs. Embracing Imperfection
Once the takes are recorded, the temptation to edit is strong. Resist it. Light compression and EQ are fine, but heavy editing should be avoided. If a vocal phrase is slightly off, leave it. If the drummer rushes a fill, keep it. These imperfections give the listener something to connect with. They remind us that humans made this music.
However, you do need to clean up obvious noise. Remove long silences between songs. Fix any hum or buzz from electrical interference. Balance the levels so that no single instrument drowns out the others. Aim for a mix that sounds like the band playing in a small club, not a stadium. The intimacy is key. Let the room tone sit in the background. It glues the tracks together and adds a sense of place.
Common Pitfalls to Avoid
- Over-mic’ing: More mics don’t always mean better sound. Each mic adds complexity and potential for phase issues. Start simple.
- Ignoring Phase: Check your waveforms. If two mics are picking up the same source, ensure they are in phase. Flip the polarity if the low end disappears.
- Chasing Perfection: Stop trying to fix every tiny mistake. The goal is authenticity, not precision.
- Poor Communication: Make sure everyone knows the structure of the song. Surprises during a live take can derail the performance.
- Neglecting the Room: Treat the room as an instrument. Adjust the furniture or add blankets to tame harsh reflections.
Building a Workflow for Consistency
To streamline your process, create a template in your DAW. Set up your input channels, assign colors to each instrument, and pre-set your gain staging. This saves time and reduces errors. Have a list of songs ready for the session. Rehearse them beforehand so that the recording session is about performance, not learning the material. Bring snacks and water. Long sessions can be draining, and a well-fed musician plays better.
Finally, trust your ears. Technical metrics are useful, but they don’t tell you if the song feels right. Play the take back after a few minutes. Does it make you want to move? Does it evoke an emotion? If yes, you’ve captured something real. That is the essence of roots music. It’s not about the gear or the software; it’s about the people and the story they are telling through their instruments.
Do I need expensive microphones to record live roots music?
No. While quality microphones help, placement and technique matter more. A standard dynamic mic placed correctly can outperform an expensive condenser mic placed poorly. Focus on getting the balance right in the room before worrying about gear upgrades.
How do I deal with bleed between instruments?
You cannot eliminate bleed in a live setup, but you can minimize it. Space instruments apart, use directional microphones, and accept that some bleed is part of the sound. If bleed is causing phase issues, try adjusting the distance between mics or flipping the polarity on one channel.
Is it better to record with or without a click track?
It depends on the tightness of your band. If you are a seasoned group, skip the click to allow for natural tempo fluctuations. If you are newer, use a silent click for the drummer only to keep the foundation steady while allowing the rest of the band to play freely.
What is the best room size for live recording?
A medium-sized room with hardwood floors works well. It should be large enough to spread the band out but small enough to maintain intimacy. Avoid very large, empty rooms that cause excessive reverb, and very small rooms that sound boxy.
How many takes should I record per song?
Aim for five to eight takes. The first couple are usually warm-ups, and the last couple may suffer from fatigue. The middle takes often contain the best performances. Stop recording when the energy dips, not when you run out of time.