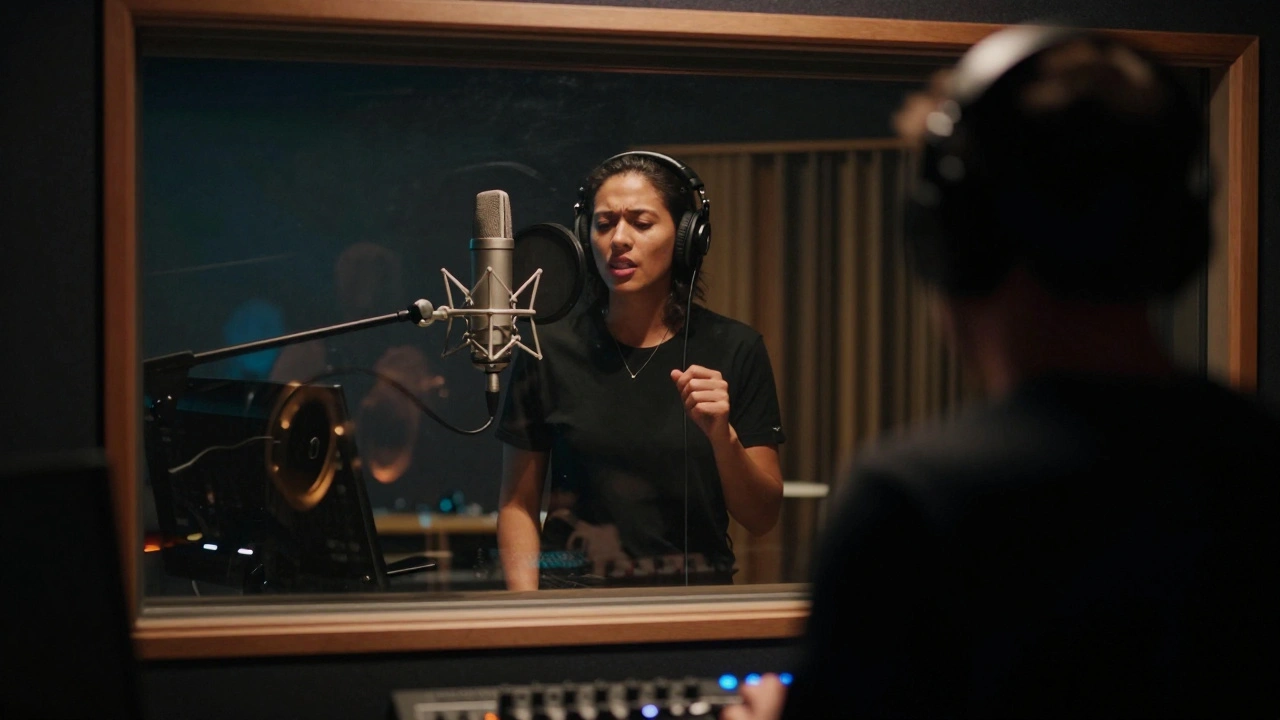
In 2026, the pressure on vocal tracks hasn't eased; it has sharpened. Listeners now have access to pristine hi-res streams on every device imaginable. A sloppy vocal performance ruins the entire track, no matter how good the drums sound. This is where Vocal Compingis the process of combining multiple takes of a vocal performance to create a single, perfect composite track. comes into play. It sounds simple enough on paper, but doing it without killing the energy of the singer is an art form.
You probably spend hours staring at waveforms, trying to decide between take three and take seven. Maybe you've heard rumors about a specific editing workflow used by top-tier engineers like Robert HillRob Hilla renowned audio engineer known for precise vocal editing and mixing techniques in modern music production. His approach prioritizes the human feel over grid-perfect quantization. Today, we break down exactly how that logic translates to your session files so you can stop wrestling with your DAWDigital Audio Workstation software used to record and edit audio tracks. and start making records.
The Philosophy Behind the Cut
Many producers make the mistake of treating vocals like MIDI. You hit shift and snap to grid, and suddenly everyone sings like robots. Robert Hill's workflow argues that the microphone should capture a performance, not a mathematical equation. When you open the file named "Lead_Voc_Final_04.wav," ask yourself: Does this sound like a person breathing?
This philosophy dictates every subsequent move. If you choose a take purely because it hits a note perfectly, but the breath feels artificial, you lose the emotional connection. The goal is transparency. The listener should hear the song, not the edits. This mindset shifts your focus from fixing pitch to shaping dynamics and flow before you ever touch an autotune plugin.
Session Organization Before You Press Record
Efficiency starts long before the editing phase. You cannot comp effectively if your session looks like a spaghetti bowl. Hill emphasizes color-coding and folder structures. Here is how you prepare:
- Track Naming: Don't name tracks "Audio 1." Name them "Vox_Main_Sarah_Take01." Clear labeling saves minutes later when scrolling through a dozen clips.
- Folder Bins: Group your raw takes into folders labeled "Roughs," "Full Takes," and "Punch Ins." Hide unused groups to reduce visual clutter on the timeline.
- Click Tracks: Ensure your metronome is set correctly. A stable click makes aligning phrases across different takes significantly easier during the selection phase.
Organizing this way prevents the panic of wondering which clip contains the best bridge. You can see the hierarchy immediately. If you wait until the editing phase to organize, you will waste more time hunting for clips than actually editing them.
Navigating the Take Stack
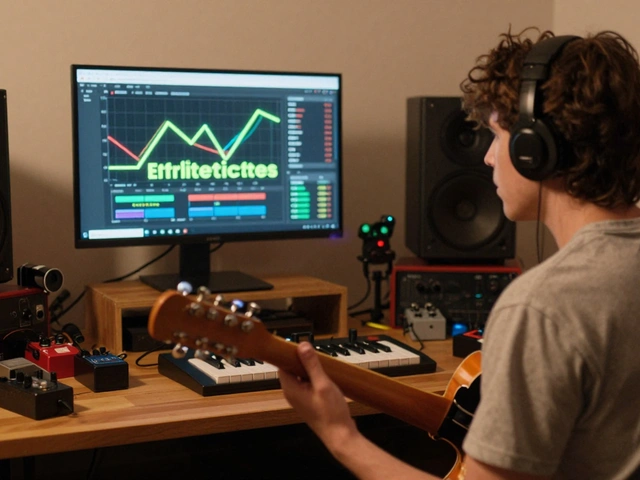
Most Digital Audio WorkstationsSoftware platforms like Logic, Pro Tools, or Cubase. include a comp view function. In Pro Tools, this is literally called "View" then "Take Comp." In others, it might require dragging clips vertically into lanes. Hill suggests enabling multi-take visualization immediately upon export.
Seeing four waveforms stacked on top of each other allows you to compare phrasing visually. Look for the envelope of the performance. Some singers rush the chorus slightly in take two but sing the verse with more confidence in take five. Your job is to spot these patterns. Do not just scroll through listening to every word from scratch. Identify the problem areas first-verses, choruses, bridges-and focus your attention there.
| Waveform Feature | What It Indicates | Priority Level |
|---|---|---|
| Tight Breath Attack | Singer leaned in close, better dynamics | High |
| Consistent Volume | Better mic technique, less riding needed | Medium |
| Phrase Ending | Check consonant endings for abrupt cuts | Critical |
This table highlights what to look for. A tight breath attack often correlates with intimacy. Consistent volume means the vocalist didn't pull away from the mic during loud sections. By scanning for these shapes, you filter out the weak links faster.

Selection Heuristics: Beyond Pitch
Pitch correction tools have changed the game. They can fix minor tuning issues without damaging the transients anymore. This frees you up to focus on expression. When deciding between two takes that are both in tune, listen to the articulation. How does she enunciate the last syllable? Is the vowel shape correct?
Hill recommends playing the track while listening blindfolded once per pass. Visual reliance tricks your brain into thinking a messy waveform is worse than it sounds. Sometimes the "messy" looking waveform represents a dynamic swell that adds life to the mix. Trust your ears over your eyes. If the transition works emotionally, the edit passes inspection. Save your perfectionism for the automation phase, not the selection phase.
The Seamless Edit Technique
Once you've selected the winning segments, you need to glue them together. A hard cut creates a click or a phase cancellation issue that causes artifacts in mono playback. You must use crossfades. Specifically, linear crossfades are usually safe, but curve-based fades often sound more natural for vocals because speech follows an exponential rise and fall.
- Select the overlap point between two clips.
- Apply a fade of roughly 15 to 30 milliseconds.
- Zoom in closely to ensure no pops occur at the node.
- Listen at high volume for phase wobble.
Avoid fading longer than necessary. A 100-millisecond fade on a vocal often kills the transient of the following word, making the voice sound muddy. Short, sharp crossfades preserve the air and presence of the instrument. If you notice a pop, move the split point to a zero-crossing area where the waveform touches the center line naturally.

Gain Staging After the Comp
Before you send the comped track to processing, you must normalize the levels. Different takes might have been recorded at different gains. One verse could be -18dB, while the chorus peaks at -10dB. This inconsistency will fight your compressor settings later.
Use volume automation to match the loudest phrase to the quietest phrase before inserting any plugins. This practice maintains headroom. If you rely on a compressor to balance levels, the compressor will pump inconsistently. Manual gain adjustments provide the foundation. Think of this as painting the canvas white before applying color. It ensures that every piece of the puzzle sits in the same acoustic space.
Processing the Composite Track
Now the magic happens. With a solid composite track created, the effects chain becomes predictable. Because you matched levels manually, the CompressorDevice that reduces the dynamic range of an audio signal. threshold will trigger consistently. If you skip the manual balancing step, you are essentially asking the machine to guess what to compress.
Typically, you would place equalization first to remove boxiness, then compression to tame spikes, followed by saturation for warmth. De-essers should follow compression to catch harsh frequencies generated by the gain reduction. Finally, reverb or delay helps place the vocal in the stereo field. Following this order respects the signal path.
Common Pitfalls to Avoid
Even experienced engineers fall into traps. One major error is over-comping. Sometimes a complete, slightly flawed take is better than a Frankenstein creation stitched together from ten different attempts. If the emotion flows from start to finish in one take, keep it. Perfection can kill vibe. Another pitfall is excessive silence removal. Leaving small gaps of breath between phrases preserves the rhythm. Deleting every empty second removes the pocket of the song.
Also, watch out for the "grid snap" trap. Just because the grid line exists doesn't mean the beat lands right on it. Human timing swings forward and back. Align to the pocket, not the red line. If the singer drags slightly behind the snare, leave that drag. Quantizing it perfectly will make the vocal feel detached from the drums.
What is the best software for vocal comping?
Most professional Digital Audio Workstations (DAWs) handle comping well. Pro Tools is the industry standard for its robust 'Take Lane' view. Logic Pro and Ableton Live also offer excellent grouping and selection tools. Choose the DAW you already know best, as muscle memory speeds up the workflow significantly.
Should I tune vocals before or after comping?
You should comp first, then tune. Editing the raw waveform allows you to select the best natural performances. Tuning afterwards fixes the specific chosen notes. If you tune individual takes before comping, you may accidentally select a tuned section that doesn't fit the surrounding dynamics.
How many takes do I need for a good comp?
Generally, aim for at least three full takes and several punch-ins. More than seven full takes rarely yields diminishing returns. Often, the best option is found in the first or second take, so having plenty of options lets you avoid forcing a bad choice.
What is a standard crossfade length for vocals?
A safe starting point is 10 to 30 milliseconds. Longer fades can smear the attack of consonants. Shorter fades might click if there isn't enough overlap. Always zoom in and listen critically at high volumes to verify the seamlessness.
Can I automate volume changes instead of comping?
Automation helps smooth out levels, but it cannot change a melody or improve pitch. You still need to comp the melodic content. Automate the final volume after you have selected the definitive notes for the master track.