You have a killer script. Your talent is booked. The crew is ready to roll. But when you step onto the location, something feels... off. The light hits the wall at the wrong angle. The background is cluttered with distracting objects. The space doesn't match the mood of your scene. This happens more often than you think. Great video promotion isn't just about what happens in front of the camera; it's about where it happens.
Location scouting and set design are the silent partners in your production. They do the heavy lifting of establishing context, mood, and credibility before a single word is spoken. If you want your video to look professional and engaging, you need to treat these elements as active characters in your story, not just passive backdrops.
The Art of Finding the Right Spot
Finding a location that works on paper but fails in practice is a classic rookie mistake. You see a beautiful warehouse on a website, book it, and arrive to find it smells like damp concrete and has no power outlets near the shooting area. Location scouting is about verifying reality against expectation.
Start by defining your visual needs before you start looking. What time of day will you shoot? How much natural light do you need? Does the space allow for equipment setup without tripping over cables? These practical questions save hours of frustration later.
When you visit a potential site, bring a checklist. Check the acoustics. Stand in the middle of the room and clap. Does it echo? If you're recording dialogue, that reverb will ruin your audio track. Look up. Are there windows that let in harsh midday sun? Can you control the light with blackout curtains? Look around. Is the background clean? A busy street visible through a window can distract viewers from your speaker.
Don't forget the legal side. Always get written permission to film. Verbal agreements don't hold up when a neighbor complains about noise or a property manager changes their mind. In many cities, you need permits for public spaces. Fines can be steep, and having your shoot shut down is a nightmare scenario. Build relationships with local business owners. A coffee shop owner might let you shoot during slow hours if you promise to buy coffee for the crew. These favors add up.
Designing Sets That Tell a Story
Once you have your location, you move to set design. This is where you curate the environment to support your narrative. Set design isn't just about decorating; it's about psychological framing. Every object in the frame sends a message to the viewer.
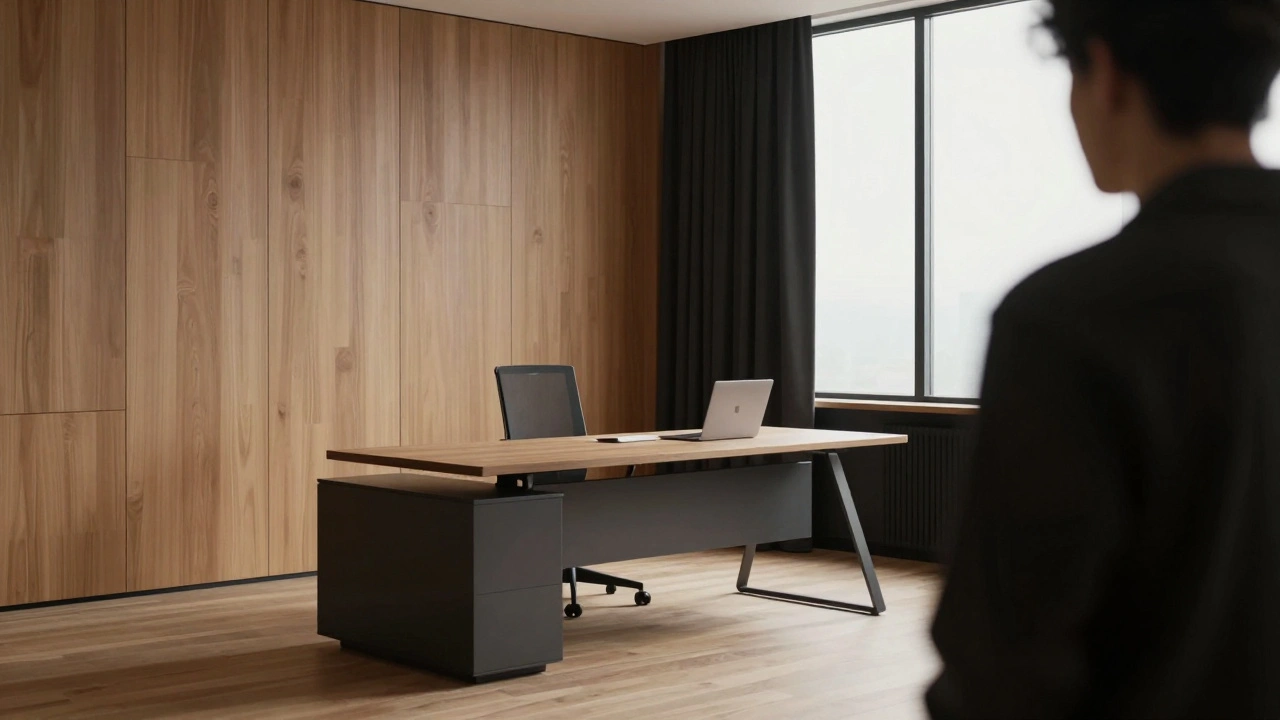
If you're filming a tech startup pitch, a sterile white office suggests precision and modernity. A cluttered desk with sticky notes suggests hustle and creativity. Choose the vibe that matches your brand. Consistency is key. If your logo is minimalist, don't put it in a baroque, ornate setting. The visual dissonance confuses the audience.
Think about depth. Flat backgrounds kill engagement. Add layers to your set. Place your subject in the foreground, a piece of furniture in the mid-ground, and a window or art piece in the background. This creates a three-dimensional feel that draws the viewer in. Use leading lines-like a hallway or a row of chairs-to direct attention toward your main subject.
Color theory matters more than you realize. Complementary colors create contrast and energy. Analogous colors create harmony and calm. If your product is blue, avoid a blue background. Instead, use an orange or yellow accent to make it pop. Be careful with saturated colors. Bright reds and greens can cause issues with digital sensors, creating moiré patterns or color bleeding. Stick to muted tones for backgrounds and let your subject stand out.
Lighting: The Make-or-Break Factor
You can have the best location and set design in the world, but bad lighting will ruin it. Lighting shapes how we perceive texture, depth, and emotion. Natural light is beautiful but unpredictable. Artificial light gives you control.
Start with your key light. This is your main source of illumination. Position it at a 45-degree angle to your subject. This creates shadows that define facial features and add dimension. Avoid flat lighting, which makes everyone look two-dimensional and boring. Next, add a fill light on the opposite side to soften those shadows. Don't eliminate them completely; some contrast is necessary for realism.
Finally, consider your backlight or rim light. This separates your subject from the background. Without it, your subject blends into the wall, looking pasted on. A simple LED strip behind a chair or a small lamp pointed at the back of the head can create this effect instantly.
Match your light temperature to the environment. Tungsten lights are warm (around 3200K). Daylight LEDs are cool (around 5600K). Mixing these without correction leads to weird color casts. If you're shooting indoors with windows, balance your artificial lights with the daylight coming in. Use gels or adjust your white balance to keep things consistent.
Practical Checklist for On-Set Success
To keep things organized, here’s a quick checklist to run through before you hit record:
- Sound Check: Turn off HVAC systems, fridges, and fluorescent lights. Humming noises are invisible killers of audio quality.
- Clutter Control: Remove anything that doesn't serve the story. Water bottles, random cables, and personal items should be hidden.
- Reflection Management: Check mirrors and glass surfaces. You don't want to see the camera crew reflected in a window.
- Power Access: Ensure enough outlets are available for lights and equipment. Bring extension cords and power strips.
- Safety First: Clear walkways of trip hazards. Secure loose rugs and tape down cables.
Common Pitfalls to Avoid
One major mistake is ignoring the scale of the space. Wide-angle lenses can make small rooms look bigger, but they also distort faces if you get too close. Plan your lens choice based on the room size. Another pitfall is over-lighting. More light isn't always better. Hard, bright light looks amateurish. Learn to use diffusion materials like scrims or softboxes to create flattering, even illumination.
Also, beware of "green screen" thinking. Just because you can remove a background in post-production doesn't mean you should. Practical sets provide realistic reflections and interactions with light that are hard to fake. If you can build it practically, do it. It saves time and money in editing.
| Location Type | Pros | Cons | Best For |
|---|---|---|---|
| Studio Space | Full control over light and sound | Expensive rental fees | Talking heads, product shots |
| On-Location (Office) | Authentic context, relatable | Noise interference, limited power | B2B testimonials, case studies |
| Public Spaces | Dynamic atmosphere, free access | Permits required, unpredictable crowds | Lifestyle vlogs, energetic promos |
Next Steps for Your Production
Start small. Practice scouting locations in your own neighborhood. Take photos at different times of day. Notice how light changes. Experiment with set dressing using items you already own. Rearrange furniture to create new angles. Test lighting setups with household lamps. The more you experiment, the faster you'll develop an eye for detail.
Collaborate with others. Find a friend who likes photography and ask them to critique your frames. Fresh eyes spot distractions you've become blind to. Join local filmmaker groups. They often share lists of affordable locations and reliable vendors.
Remember, great video promotion is built on details. A well-chosen location grounds your story. Thoughtful set design adds depth. Proper lighting brings it all to life. Master these fundamentals, and your videos will stand out in a crowded feed.
How much does it cost to rent a professional studio?
Costs vary widely by location and size. In major cities like Portland or New York, hourly rates range from $50 to $200 per hour. Daily rates can exceed $1,000. Smaller shared studios or co-working spaces with media rooms offer cheaper alternatives, often starting at $20-$50 per hour. Always negotiate block bookings for discounts.
Can I use my home as a filming location?
Yes, absolutely. Many successful creators shoot at home. Just ensure you manage noise from neighbors and household appliances. Treat your space carefully-remove personal clutter and use lighting to hide less attractive areas. Home sets feel authentic and intimate, which works well for personal brands.
What is the best lighting setup for beginners?
A basic three-point lighting setup is ideal. This includes a key light (main source), a fill light (to soften shadows), and a backlight (to separate subject from background). Affordable LED kits are available online for under $200. Start with this foundation and expand as you gain experience.
Do I need a permit to film in public parks?
It depends on your equipment and purpose. Casual filming with a smartphone usually requires no permit. However, if you use tripods, drones, or large crews, most cities require a permit. Check your local city council website for specific rules. Ignoring these can result in fines or confiscation of gear.
How do I deal with background noise on location?
Use directional microphones like shotgun mics to isolate your subject's voice. Record ambient sound separately for editing flexibility. If possible, shoot during quiet hours (early morning or late evening). Use blankets or foam panels to dampen echoes in hard-surfaced rooms. Post-production noise reduction tools can help, but prevention is better than cure.